
News

USING MIDJOURNEY AI TO CREATE INCREDIBLE STICKER DESIGNS FOR FREE
INTRODUCTION
Welcome! Today, we are excited to share with you how you can create thousands of amazing sticker designs using the power of technology. We'll be using a tool called MidJourney, which uses artificial intelligence to generate unique designs.
MidJourney is an independent research lab that explores new mediums of thought and expands the imaginative powers of humans. They have created an AI-powered tool that can transform any creative idea into text-based art. While some AI-produced artwork can be subpar, the artwork produced by MidJourney's tool is truly impressive.
GETTING SETUP WITH DISCORD AND MIDJOURNEY
The first step is to create a Discord account. Discord a messaging app that MidJourney runs on. You will use it to interact with the MidJourney AI. You can download Discord to your computer, or simply use the browser version.
Once you've signed up, head over to Mid Journey's website and sign in. You'll then need to join the beta program to access the tool. Keep in mind that the free version of Mid Journey only allows for personal use, so if you plan on selling your designs, you should purchase a plan.
Once you're in the Mid Journey Discord server, you can start experimenting with the tool in the newbie rooms. These rooms are a great place to practice and get used to the tool, as you can see what other people have created and the prompts they used to generate their designs.
With the free plan, you have to interact with the AI in the rooms, which are full of other people, so it's easy to lose track of your images. If you end up subscribing to a plan, you can Direct Message MidJourney, which keeps means only your designs are in the chat thread.
CREATING A DESIGN
To create your own design, simply type a prompt into the message bar using the forward slash command, and then use the "imagine" prompt.
For example, let's say we want to create a sticker of a Corgi.

If we simply use the prompt /imagine prompt: corgi, here is the result:
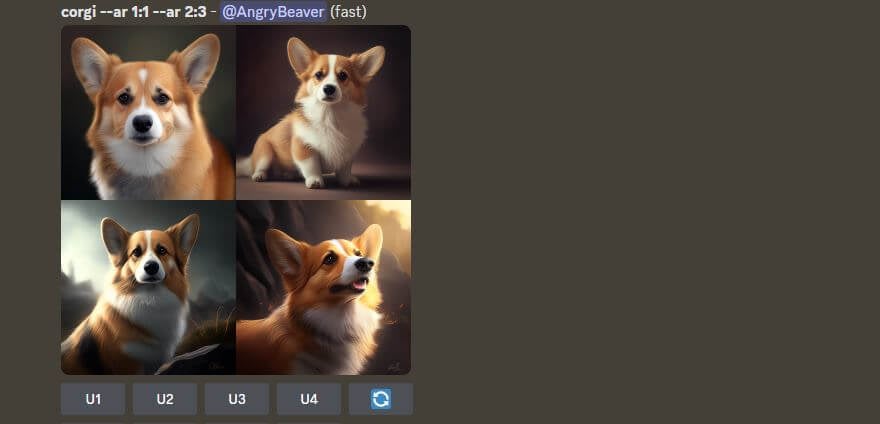
While the images are undeniably cute, it will take quite a bit of work to turn these into print ready designs.
Note that MidJourney will always create four different versions of your prompt in low resolution. Below the images are U1 - U4 and V1 - V4. U stands for upscale, in this case. So if you like one of the designs, you hit the corresponding upscale button, and it will generate a higher resolution version of that output.
The V stands for variation. If you want to see four new variations of one of the designs, you hit the corresponding V button. Nifty.
Now back to our prompts. Those corgis are cute but will take work to turn into stickers. However, the more specific your prompt, the better the result. For example, let's use a more detailed prompt like this:

Now we are giving MidJourney more information about what we are looking for. We want the Corgi to be a cartoon, kawaii style (which is super trendy among sticker enthusiasts these days). Plus, if we tell it to make it into a sticker with a white background, it will make it a lot easier to isolate the design we want to print.
Indeed, here's the results:
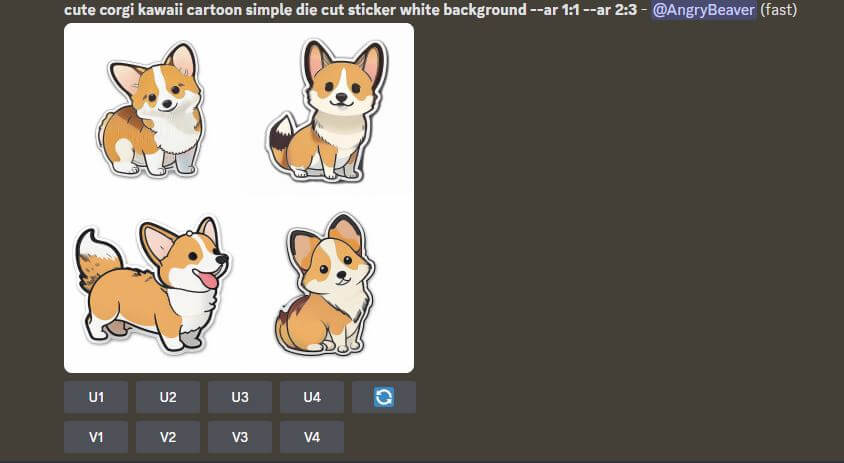
Now you can automatically see that these would make some really cute stickers. MidJourney did a great job!
If you like this style, here are some more keywords to consider including in your prompts:
- Sticker
- Die Cut Sticker
- Vinyl Sticker
- Flat image
- 2d
- Vector
- SVG
- White Background
- Simple
- No text
- Denoised
TURNING YOUR DESIGN INTO A STICKER
Now that we have some great designs let's cover how to turn one into a sticker. I personally like the second image, so I hit U2 to upscale that design.
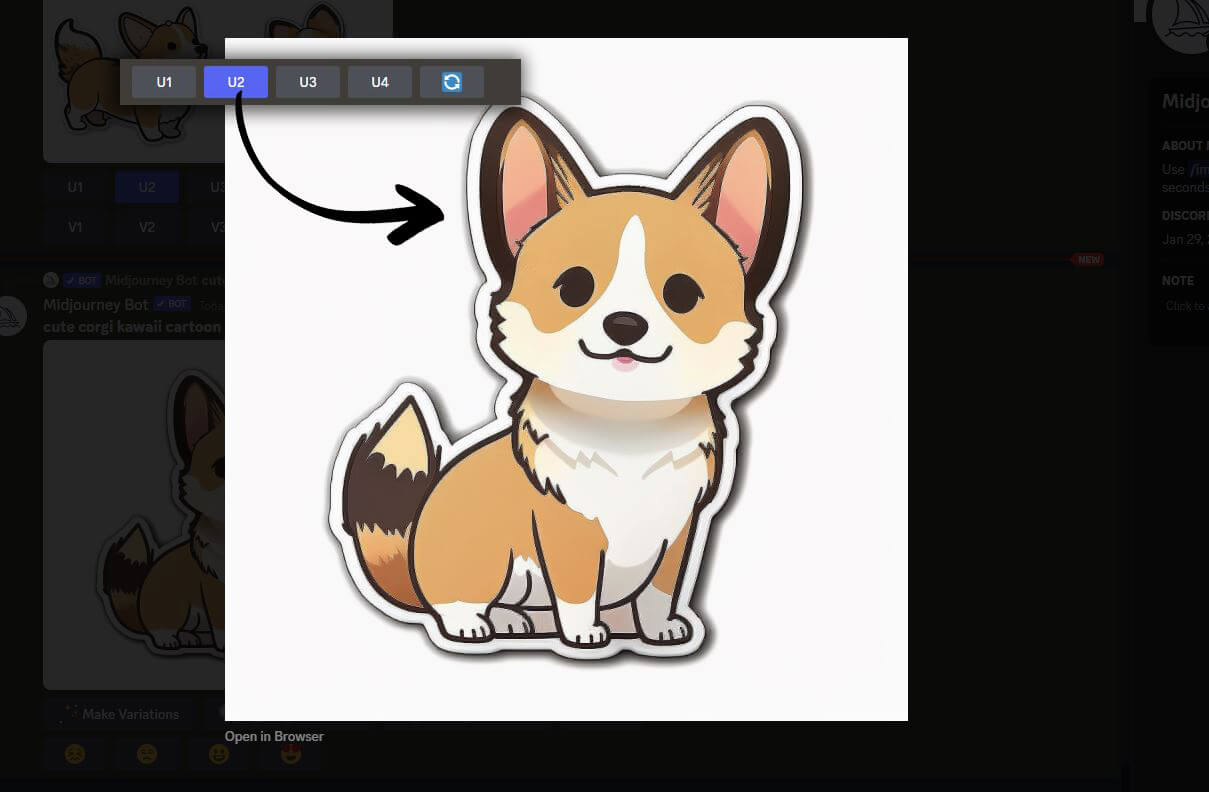
Now you click "Open in Browser" just below the image and you can right click and 'save as' to save it to your desktop.
We still have a bit of work to prep the file to print.
If you want to order stickers of your designs from us at customstickers, there is no need to enhance the resolution or remove the background. We will do all that for you at no additional cost. In fact, if you want to printing a design, check out our free sample stickers. This is open to interested customer (one per customer or address).
If you plan to use another service like a print on demand supplier, you'll need to do some editing first.
The dimensions and resolution may still be too low for printing, so you can use a tool like "letsenhance" to upscale the images. There are a bunch of free tools to do this as well. Simply drag and drop your image into the box, select the scale you want, and hit submit. Then, download the image and save it as a higher resolution file.
Finally, you may need to remove the background from the sticker images. We use Photoshop around here, but you there are free tools like Adobe's free background remover.
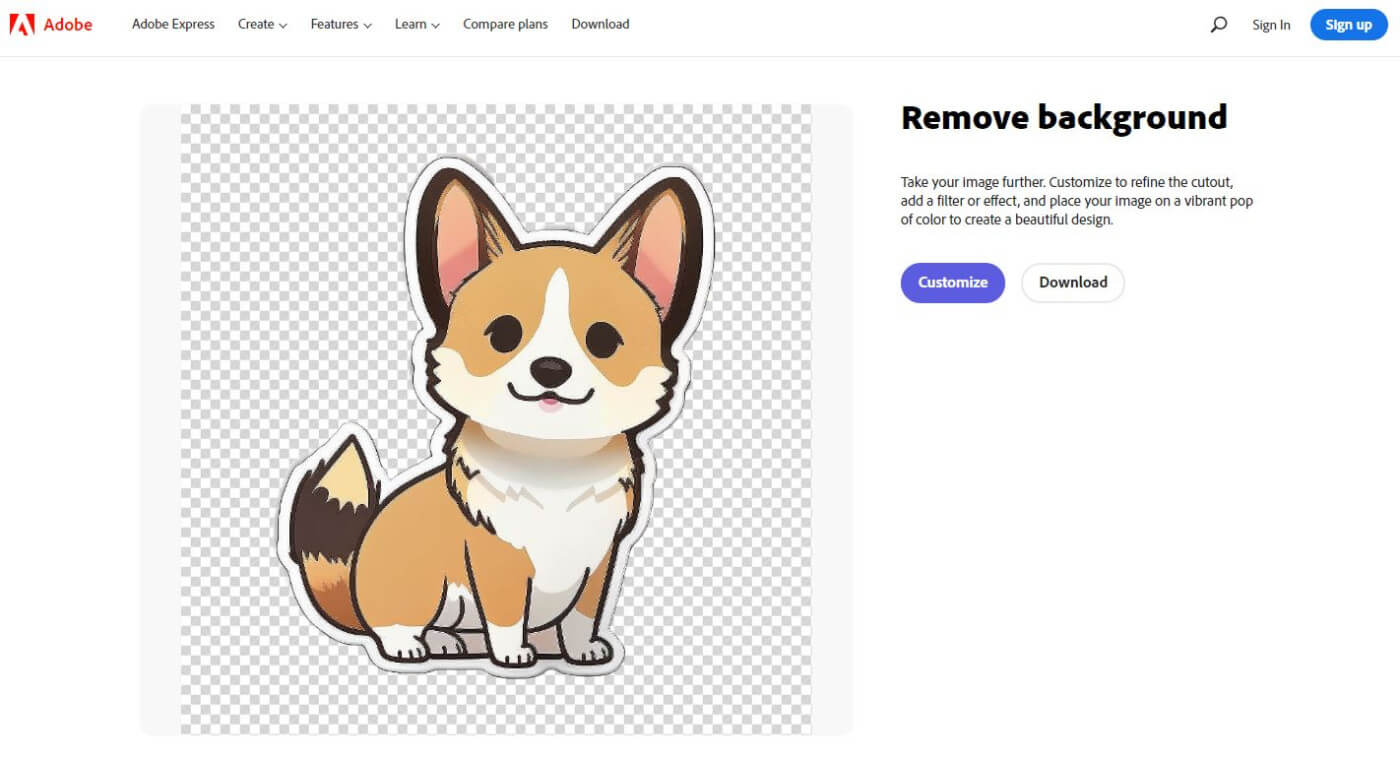
You may still need to use the erase tool to clean up any remaining edges.
Many Iphones and Android phones have built in background removal tools that you can use, too. If yours does, you can simply download the image to your phone and take out the background that way.
If you have IOS 16, tap and hold the subject of the image. You'll see a white shimmer around the subject, and then a popup asking you to Copy or Share. If that doesn't happen, reposition your finger and try again. Sometimes you'll need to try several times before you successfully remove the background. It's pretty easy though.
Once finished, export the file as a PNG to ensure that there is no background color.
With a little creativity, you can create thousands of unique sticker designs that are sure to impress. This is a great way to start selling on Etsy, for example.
ADDITIONAL NUANCES OF MIDJOURNEY
Hands, Fingers, Etc: One common issue is that it doesn't always do a great job with hands and fingers in the design, often producing distorted or unrecognizable results.
Multiple Subjects in a Design: Additionally, when there are multiple subjects in the design, it can sometimes get confused and will also produce strange results. However, sometimes it does just fine. Often, you will need to prompt it a few times to get a result you like. Version 5 of Midjourney is coming soon, and from the examples we've seen, it looks like it is much better at hands and fingers.
Aspect Ratio: By default, the tool will generate a square image, but this may not always be ideal for your needs. Fortunately, there is an option to adjust the aspect ratio in the settings, allowing you to generate images that fit your specific requirements. To change the aspect ratio simply add --ar 16:9 or --ar 2:3 or whatever aspect ratio you want to the end of the prompt.
Art Styles: You can always prompt MidJourney to use certain art styles, such as 'expressionism' or 'Art Nouveau,' or 'pop art.' However, you can also enter the name of an artist you like into the prompt, and MidJourney will take inspiration from their work. We'll show some cool examples later.
Seeds
MIDJOURNEY PROMPT IDEAS
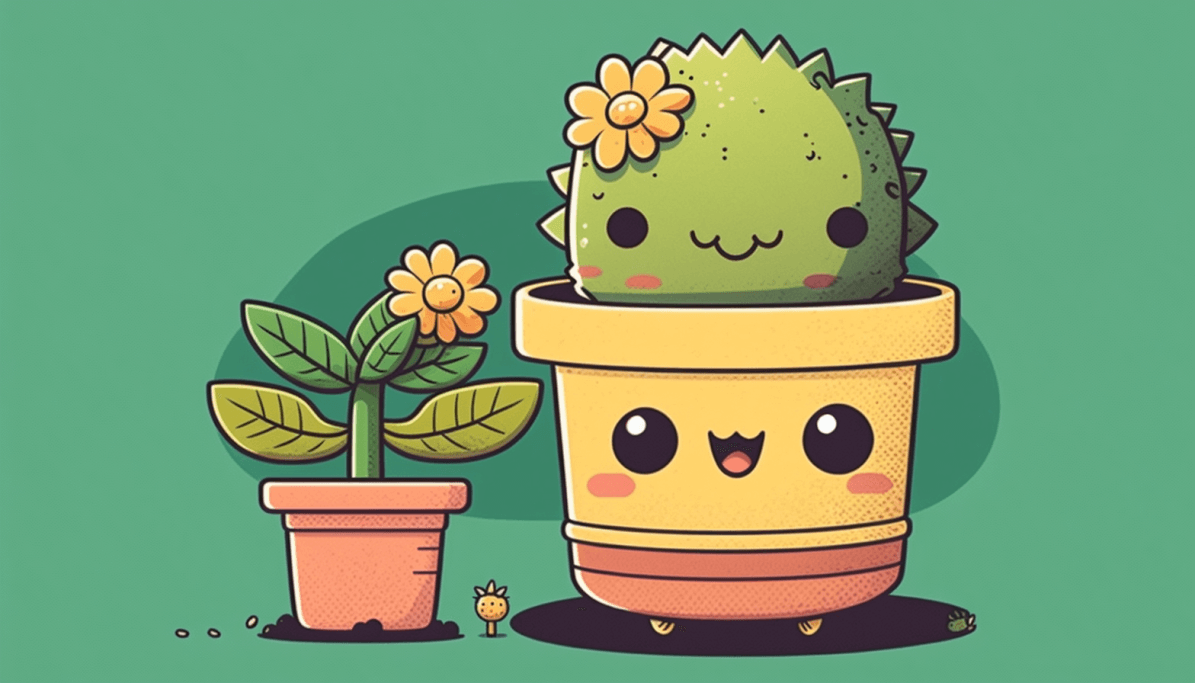
KAWAII STYLE:
This is a Japanese design style that is characterized by its cute and childlike appearance. It often features bright colors, simple shapes, and cute characters like animals, food, and inanimate objects.
Example:
/imagine prompt: cute kawaii cartoon style potted plant --ar 16:9
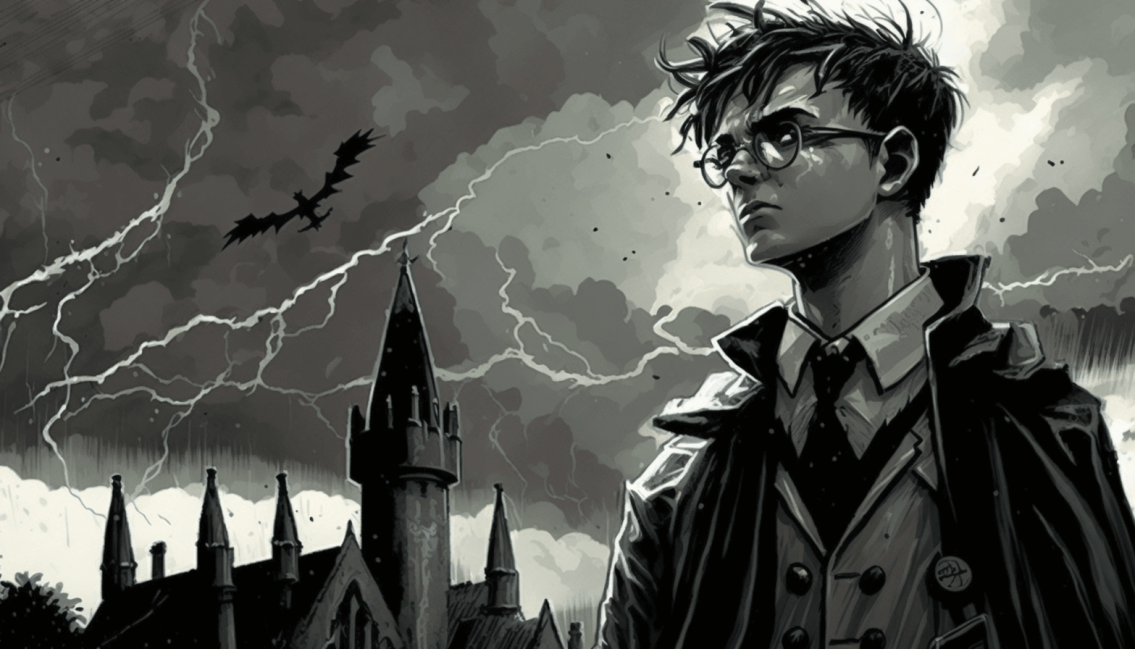
COMIC BOOK / GRAPHIC NOVEL STYLE:
This style is inspired by the artwork found in comic books and graphic novels. It typically features bold outlines, strong contrasts between light and dark, and exaggerated perspectives and proportions.
Example:
/imagine prompt: harry potter in front of hogwarts, Comic Book Steve Dillon style, inkpunk diffusion Contrast stormy sky --ar 16:9
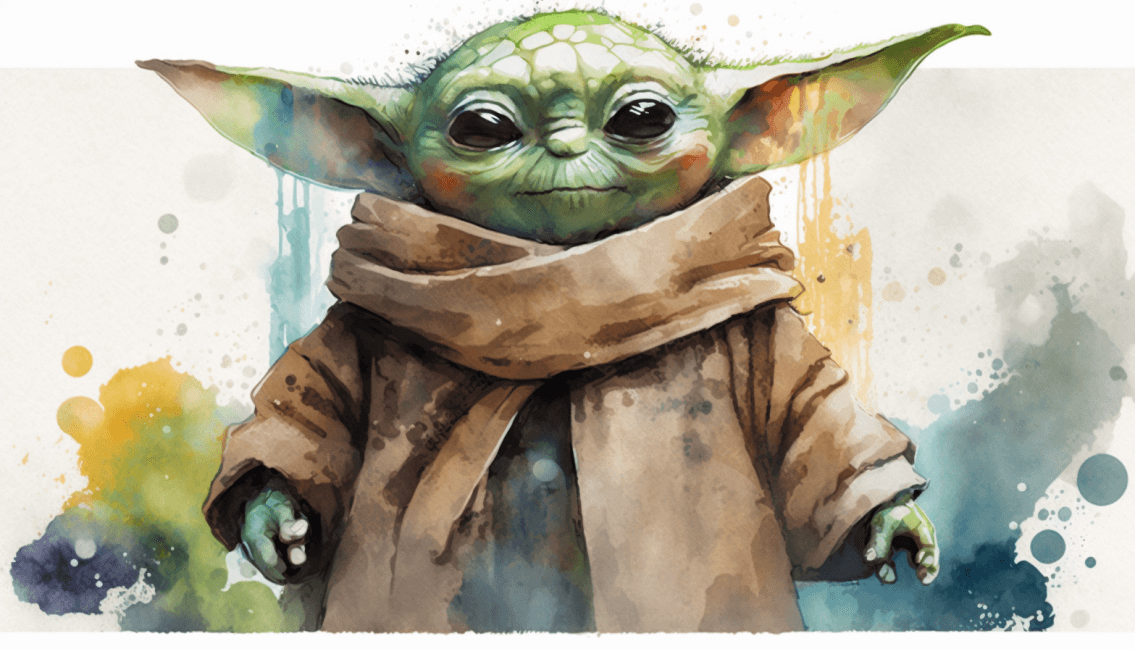
WATERCOLOR STYLE:
Watercolor is a painting technique that creates a soft, dreamy effect. Watercolor designs often feature soft, blended colors, and flowing lines.
Example:
/imagine prompt: baby yoda, watercolor --ar 16:9
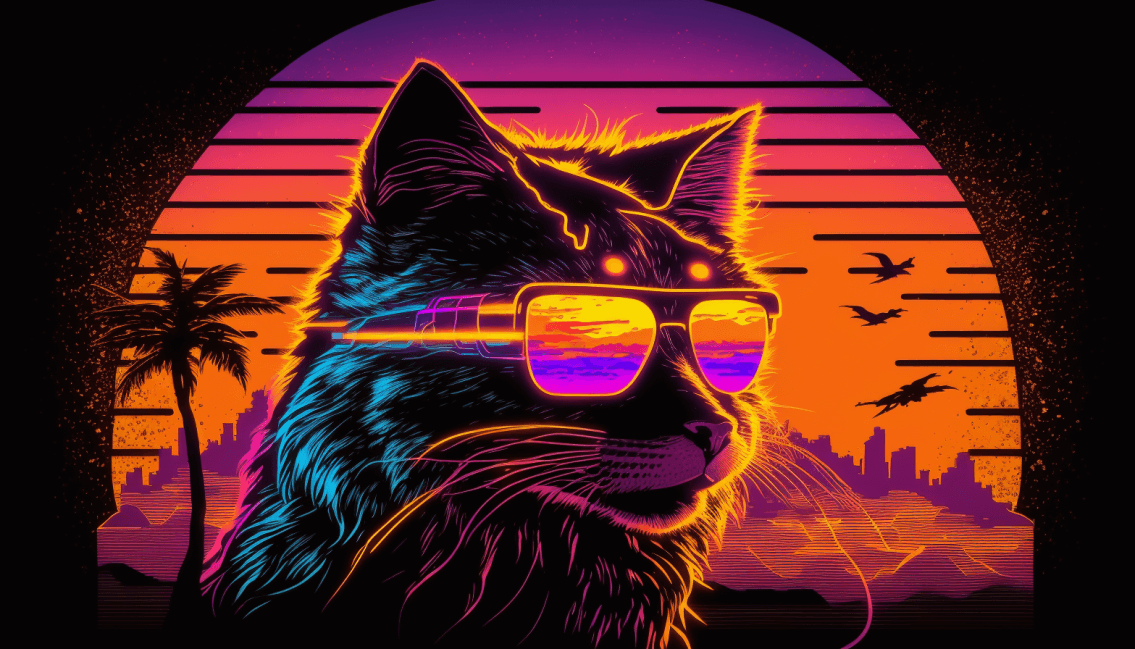
SYNTHWAVE STYLE:
This style is inspired by the aesthetics of 1980s science-fiction and pop culture. It features neon colors, futuristic landscapes, and retro-futuristic technology.
Example:
/imagine prompt: cat, synthwave retro 80s style, with sunset --ar 16:9
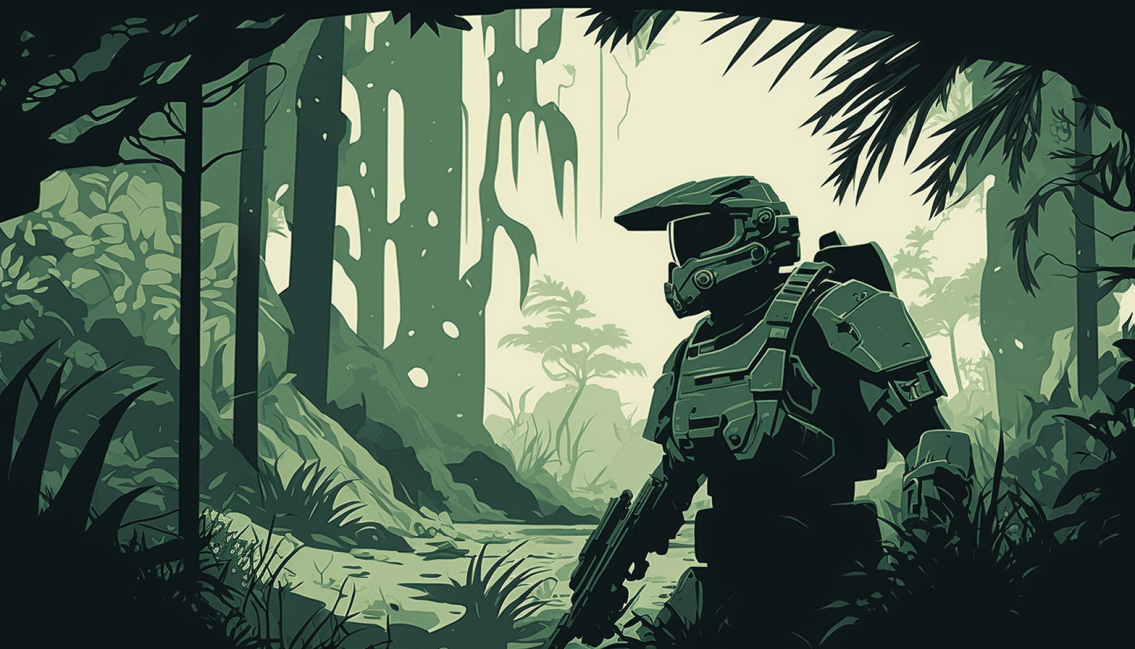
DUOTONE:
Duotone is a design technique that uses only two colors to create an image. It is often used to create a bold, high-contrast effect.
Example:
/imagine prompt: master chief, halo, jungle setting, duotone, flat illustration, clean lines --ar 16:9
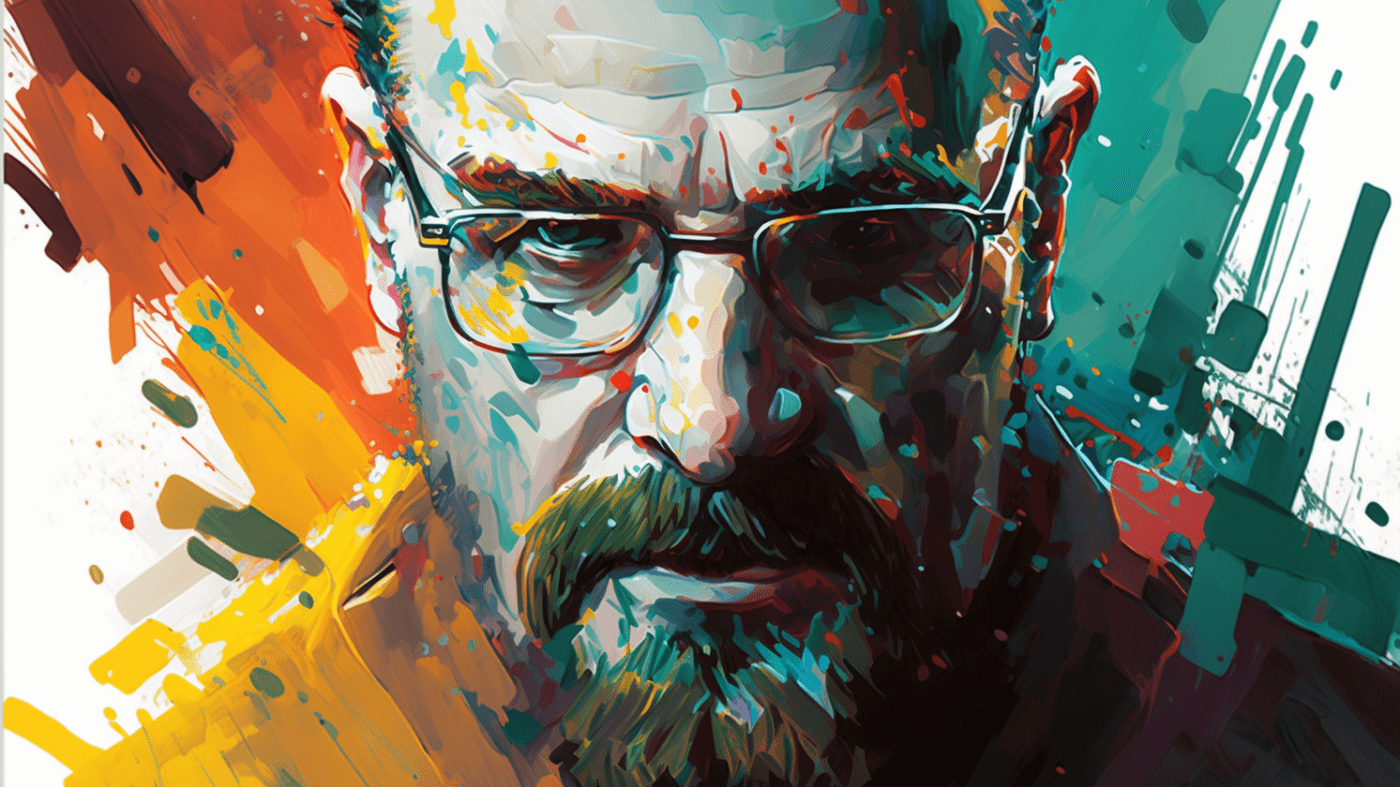
BOLD STYLE:
This style is done using expressive brush strokes and bold color choices, making it look like a bold, bright, painting.
Example:
/imagine prompt: Walter White, painted style, expressive brush strokes and bold color choices --ar 16:9
CARTOON STYLE:
This style is characterized by its simplified, exaggerated forms and bright colors. It often features humorous, exaggerated, or caricatured versions of people, animals, or objects.
Example:
/imagine prompt: --ar 16:9
GEOMETRIC:
This style uses simple geometric shapes, such as circles, squares, and triangles, to create intricate designs. It often features repeating patterns and bold colors.
Example:
/imagine prompt: --ar 16:9
ANIME STYLE:
This is a Japanese animation style that features exaggerated proportions, large eyes, and vibrant colors. It often includes themes of action, romance, and science-fiction.
Example:
/imagine prompt: --ar 16:9
ARTISTS:
This category encompasses all types of artists who use different mediums and styles to create their art. Artists may specialize in one or more styles and may use a variety of techniques, such as painting, drawing, digital art, or mixed media.
We hope this tutorial has been helpful in showing you how to create incredible sticker designs using artificial intelligence. If you have any questions or need further assistance, don't hesitate to reach out.
