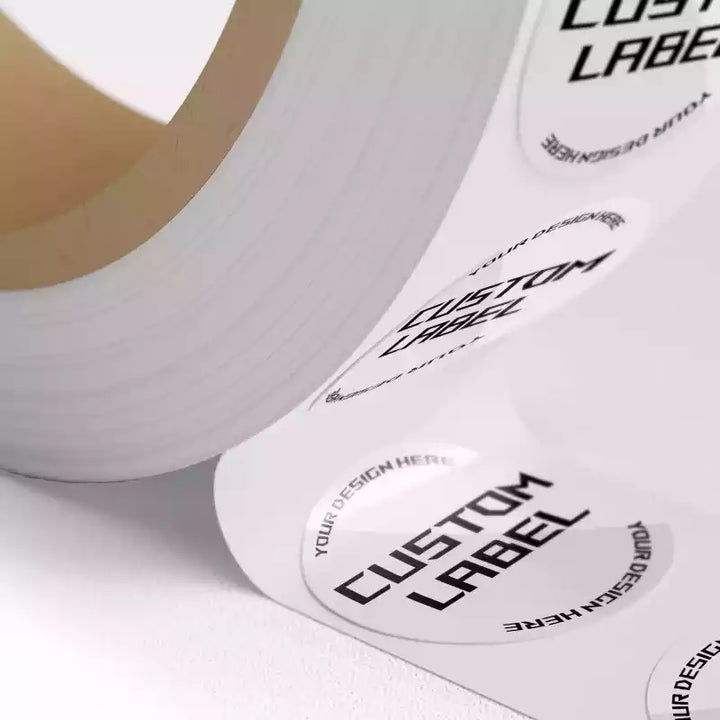
Hi, I’m Johnny from CustomStickers, and today I’m here to help you get the best results from your clear labels! Clear labels are one of our most popular materials for all sorts of projects, from product packaging to envelope seals—and so much more.
To help you make the most of them, we’ll cover everything you need to know, including:
- The differences between clear gloss and clear matte labels.
- Tips for designing specifically for clear labels.
- How to apply them like a pro for perfect results every time.
Let’s dive in!
Clear Label Rolls

$20.00
Description Introducing our Clear Label Rolls, the ultimate solution to add a touch of transparency and sophistication to your labeling needs. Whether you're a business owner seeking a minimalist look or a marketer aiming for an elegant branding approach, our… read more
1. Understanding Clear Gloss vs. Clear Matte Labels
When shopping for clear labels, you’ll notice there are two main types to choose from: clear gloss and clear matte. Both are fantastic options, but each has unique characteristics that make it better suited for specific applications.
Clear Gloss Labels:
These are completely transparent and feature a shiny, reflective finish. When applied to see-through surfaces like glass or plastic containers, the unprinted areas of the label virtually disappear. This creates a seamless, polished look that’s perfect for showcasing your product while maintaining a clean aesthetic.Clear Matte Labels:
Unlike their glossy counterparts, clear matte labels are slightly translucent and have a frosted appearance. The matte topcoat provides a subtle, elegant look that works beautifully on light-colored surfaces or when you’re going for a softer, less reflective finish.
Tip: When in doubt, try out both styles on your container or project to see which one fits your vision!2. Designing for Clear Labels
Designing for clear labels requires a little extra thought, especially if you’re printing them at home. Here are the key things to keep in mind:
The Importance of White Ink
Most commercial clear labels are printed with a layer of white ink underneath the design. This layer helps the printed areas remain vibrant and opaque, even on transparent materials. Unfortunately, most home printers don’t have the ability to print white ink.
But don’t worry! You can still create beautiful designs by following these tips:
- Use High-Contrast Colors: Darker colors tend to print less transparent and will stand out more than lighter shades. Avoid light pastels unless you’re applying the label to a dark surface.
- Choose the Right Background: Remember, clear labels will allow the surface underneath to show through. Light-colored surfaces will make your design pop, while darker backgrounds can make it harder to see.
By keeping these tips in mind, you can create designs that look professional and polished, even without white ink.
3. How to Apply Clear Labels Like a Pro
Clear labels can be a little tricky to apply, but with the right approach, you’ll get great results every time. Here’s a step-by-step guide:
Start with a Clean Surface
Make sure the surface you’re applying the label to is completely clean and free of dust, dirt, or oil. Since the label is clear, anything trapped underneath will be visible.Wash Your Hands
Natural oils from your fingers can transfer to the adhesive, so wash your hands thoroughly before handling the label. Try to touch only the edges of the label during application.Apply from the Center Outward
Stick the label down at the center first, then work your way outward toward the edges. This technique helps prevent air bubbles and creases from forming.Avoid Over-Smoothing
Once your label is applied, avoid excessive smoothing or rubbing, as this can smear the design or transfer oils to the surface.Let It Sit
Allow the label to sit for at least 24 hours after application. This gives the adhesive time to fully set and allows any small bubbles to disappear naturally.
Wrapping Up
Clear labels are a versatile and stylish choice for countless projects. Whether you’re creating product packaging, sealing envelopes, or crafting something unique, understanding the differences between clear gloss and matte labels, designing with transparency in mind, and applying them with care will ensure you get the best results.
Want to see more examples and learn even more about clear labels? Check out the link in the description below to explore our selection and discover how they look on different surfaces.
If you have any questions or tips of your own, feel free to share them in the comments—we’d love to hear from you!
Thanks for reading, and happy labeling!
Your Vision, Our Labels – CustomStickers.com


