Creating custom iPhone stickers can add a fun and personal touch to your messages and other applications. With the introduction of iOS 17, Apple has made it easier than ever to create and use stickers. Here's a comprehensive guide on how to make your own iPhone stickers.
Step 1: Preparing Your Photo
- Open the Photos App: Start by opening the Photos app on your iPhone.
- Select a Photo: Choose a photo that contains the subject you want to turn into a sticker. It could be a person, pet, object, or any other item.
- Isolate the Subject: Long press on the subject of the photo. iOS will automatically isolate the subject from the background, creating a movable object.
- Add Sticker: Once the subject is isolated, let go and tap on the "Add Sticker" option from the pop-up menu. This action saves the sticker to your collection.
Step 2: Adding Effects
- Open Stickers Menu: Access the sticker drawer by tapping the "+" icon next to the text field in the Messages app, then select "Stickers."
- Select Your Sticker: Find the newly created sticker in your collection.
- Add Effects: Hold down on the sticker to bring up additional options. Choose "Add Effect" to apply styles such as outline, comic, puffy, or shiny. These effects give your stickers a unique and personalized look.
Step 3: Using Stickers in Messages
- Open Messages App: Open the Messages app and start a new conversation or continue an existing one.
- Access Stickers: Tap the "+" button to the left of the text box and select "Stickers."
- Insert Sticker: Tap on the sticker you want to use to insert it into the message. Alternatively, you can drag and drop the sticker onto a message bubble to use it as a reaction.
Step 4: Using Live Photos for Animated Stickers
- Select Live Photo: In the Photos app, choose a Live Photo that you want to turn into an animated sticker.
- Isolate Subject: Long press on the subject until you see an animated ripple effect, then release.
- Create Sticker: Select "Add Sticker" from the pop-up menu.
- Apply Animation: In the effects menu, toggle the option to "Live" to turn the sticker into an animated one. This makes use of the video clip captured before and after the shutter button was pressed.
Step 5: Adding Stickers in Other Apps
- Open Markup Tool: Open an image or document in any app that supports Markup (e.g., Photos, Files, Mail, Notes).
- Edit Image: Tap the "Edit" button, then select the Markup icon (upward-facing pen).
- Add Sticker: Tap the "+" sign and choose "Add Sticker" to insert your custom sticker.
- Position and Resize: Adjust the sticker’s size and position as needed.
- Save Changes: Tap "Done" to save the edited image or document with your new sticker.
Additional Tips
- Using Third-Party Apps: There are numerous apps available on the App Store that offer advanced sticker creation tools and effects. These can provide additional customization options beyond what’s available in iOS.
- Sync Across Devices: Stickers created on one iOS device will sync across all devices using the same Apple ID, making them available for use on iPads and Macs as well.
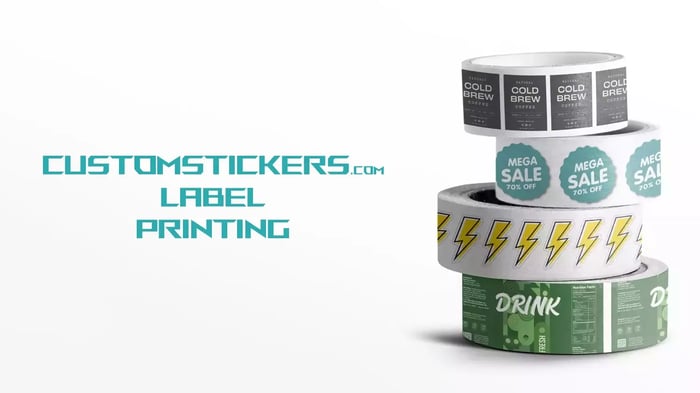
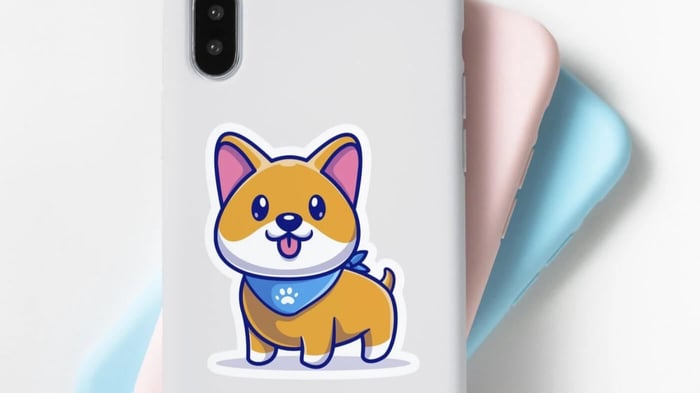
Phone Case Stickers

$8.99
Description Custom Phone Case Stickers | Personalized Android & iPhone Stickers Custom Phone Case stickers add a personalized touch to your device while being both waterproof and durable to hold up against the wear and tear of everyday life. Our vinyl stickers… read more
Conclusion
Creating custom iPhone stickers is a straightforward process that adds a personal touch to your digital communications. Whether you're using static images or animated Live Photos, the customization options in iOS 17 are robust and user-friendly. Experiment with different photos and effects to build a unique collection of stickers that reflect your personality.