
Table of Contents
- TLDR
- How to Organize Student Supplies: Start With What Students Actually Use
- Decide Between Individual and Shared Supplies
- Give Every Supply a Specific Home
- How to Organize Student Supplies With Labels
- Use Color Coding With a Clear Meaning
- Keep Desks and Pencil Boxes Simple
- Create Shared Supply Stations
- Set Up a Pencil System
- Organize Papers Separately From Tools
- How to Organize Student Supplies in Backpacks
- Build a Home Study Station
- Number Technology and Accessories
- Store Backstock Away From Daily Supplies
- Teach the System Directly
- Use Student Jobs
- How to Organize Student Supplies on a Budget
- Create a Weekly Reset
- Common Student Supply Organization Mistakes
- Student Supply Organization Checklist
- Make the System Easy to Follow
- FAQs
TLDR
The best way to learn how to organize student supplies is to give every item a clear home and make that home easy to use. Separate daily materials from extras, label storage clearly, and teach a short cleanup routine. Use individual containers for personal items and shared stations for supplies that everyone uses. That is how to organize student supplies efficiently.
A missing pencil can interrupt an entire lesson.
Then someone needs glue, three students cannot find their folders, and a pair of scissors has somehow moved to the other side of the room. The supplies are inexpensive. The time spent looking for them is not.
Learning how to organize student supplies is less about buying matching containers and more about creating a system students can follow without constant adult help. The best setup shows students where materials belong, limits how much they keep at their desks, and makes cleanup part of the normal classroom routine.
The same ideas work at school and at home. The containers may change, but the basic rule stays the same: frequently used supplies should be easy to reach, easy to identify, and easy to put away.
How to Organize Student Supplies: Start With What Students Actually Use
The first step in how to organize student supplies is to reduce the system to materials students actually need.
Before buying bins, empty the desks, drawers, cabinets, backpacks, and supply carts. Sort everything by purpose.
Common categories include:
Writing tools
Coloring supplies
Cutting and gluing materials
Math tools
Notebooks and folders
Technology and chargers
Art materials
Paper and completed work
Extra or replacement supplies
This first step matters because it is difficult to decide how to organize student supplies while working around dried markers, broken crayons, duplicate rulers, and notebooks nobody uses.
Discard items that are empty, damaged, or no longer appropriate. Return misplaced materials. Put unopened extras in a separate restocking area instead of distributing everything at once.
A classroom does not need 300 pencils in circulation simply because 300 pencils exist. Simplicity improves how to organize student supplies.
Decide Between Individual and Shared Supplies
A major part of how to organize student supplies is deciding where personal responsibility ends and shared access begins.
One of the biggest choices in how to organize student supplies is deciding which materials belong to each student and which should be shared.
Individual storage works well for:
Pencils and erasers
Personal notebooks
Folders
Headphones
Independent reading books
Student-specific tools
Frequently used accommodations
Shared storage works well for:
Glue sticks
Scissors
Markers
Colored pencils
Rulers
Calculators
Art tools
Occasional-use materials
Individual boxes reduce arguments over ownership and make it easier to notice when a student needs replacements. Shared containers reduce clutter and prevent every desk from holding a full set of materials that may only be used once a week.
Many classrooms use a hybrid system. Students keep daily writing tools and personal papers at their desks, while table caddies or central stations hold everything else.
Vanderbilt University’s IRIS Center recommends using bins or boxes for classroom materials and creating clearly identified locations for completed work and learning activities. That basic structure gives materials and papers predictable destinations.
Give Every Supply a Specific Home
The simplest rule for how to organize student supplies is that every category needs one obvious destination.
“Put it away” only works when students know exactly where “away” is.
If several unrelated items share a deep drawer, they will usually become one tangled category called supplies. Use smaller containers inside large cabinets and drawers so markers, glue, scissors, rulers, and tape remain separate.
When deciding how to organize student supplies, match the container to the item:
| Supply | Practical Storage |
|---|---|
| Pencils | Divided cup, drawer, or labeled pouch |
| Crayons | Small box or table caddy |
| Markers | Shallow bin stored horizontally |
| Scissors | Divided caddy or narrow container |
| Glue sticks | Small open bin |
| Notebooks | Magazine file or vertical book bin |
| Headphones | Numbered pouch or hook |
| Calculators | Numbered slots or hanging organizer |
| Chargers | Labeled compartment with cable ties |
| Extra supplies | Closed backstock bin |
Clear containers help students see what is inside, while opaque containers can reduce visual clutter. Both work when the label is easy to read.
Teach Starter notes that classroom storage often has to accommodate books, art materials, headphones, and technology within limited space, so reusing tubs and using vertical storage can be practical.
How to Organize Student Supplies With Labels
Clear labels make how to organize student supplies easier for everyone who uses the room.
Labels remove guesswork. They also make it easier for substitutes, volunteers, aides, and students to return materials correctly.
Use words for older students and combine words with pictures for younger students or emerging readers. A glue-stick bin can show both the words “Glue Sticks” and a simple glue icon.
Labels can identify:
Supply type
Student name
Table group
Subject
Class period
Grade level
Bin number
Return location
Device or charger number
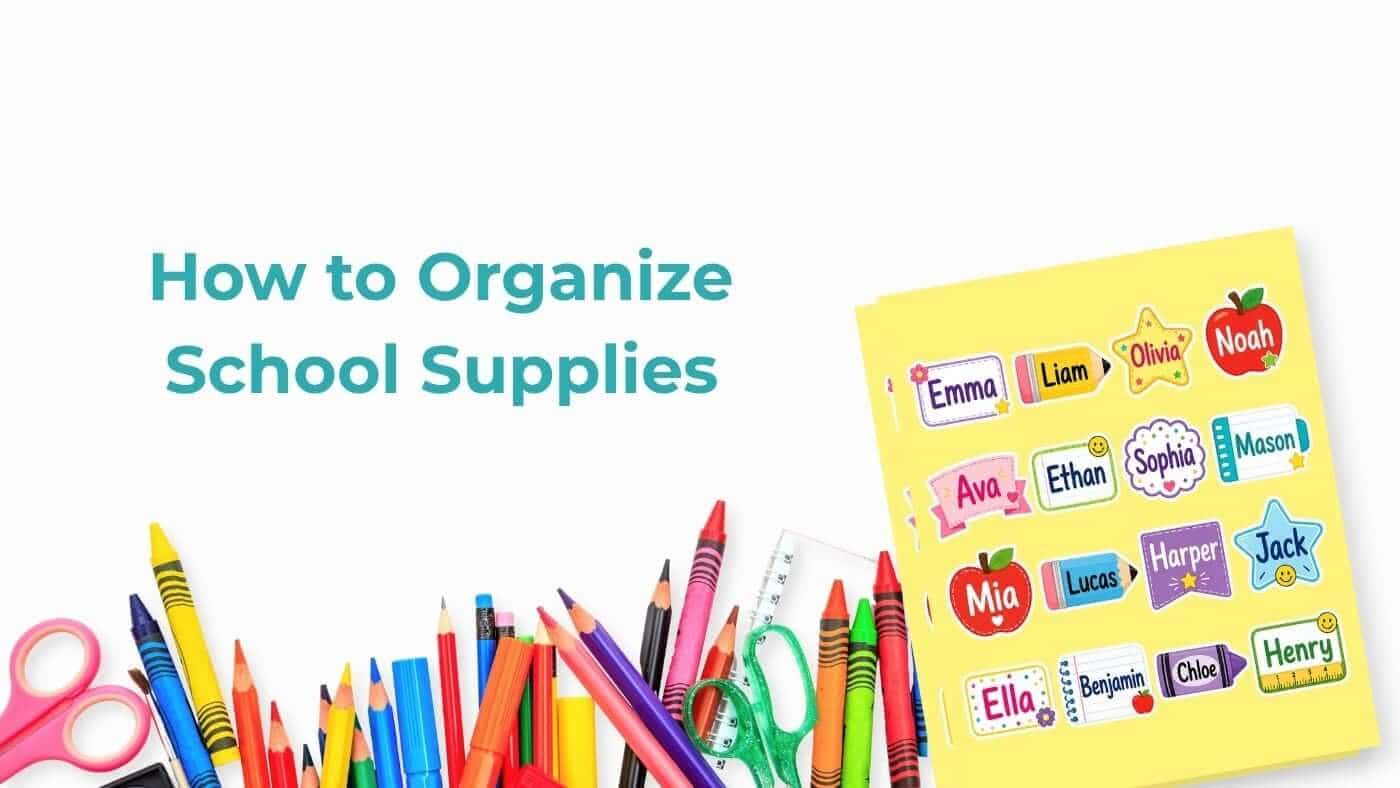
Custom school stickers can be printed with a school name, mascot, classroom theme, or custom artwork. They work for supply bins, notebooks, folders, water bottles, and other classroom materials.
CustomStickers.com also recommends using name and subject labels on water bottles, lunch boxes, laptops, tablets, notebooks, binders, and folders to make supplies easier to identify and return.
For containers that may change purpose, place the sticker on a removable label holder or smooth insert rather than applying it permanently to the bin.
Use Color Coding With a Clear Meaning
Color can support how to organize student supplies when it reinforces a system students already understand.
Color coding can make how to organize student supplies easier, but only when each color has one consistent meaning.
A classroom might assign colors by subject:
Blue for math
Green for science
Red for language arts
Yellow for social studies
Another teacher might assign one color to each table group or class period.
Avoid using the same colors for several different systems. If blue means math on folders, Table Three on bins, and missing work on trays, students still have to stop and read every label.
Use color as a shortcut, not the only source of information. Add text or an icon so the system remains usable for students with color-vision differences and anyone who forgets the code.
Custom sticker sheets can combine several colors, subjects, names, or icons on one sheet. That makes them useful for creating a coordinated system without ordering every small label separately.
Keep Desks and Pencil Boxes Simple
For many teachers, how to organize student supplies begins with limiting what may stay at each desk.
A desk should hold the materials a student uses every day, not the classroom’s entire supply inventory.
A simple desk setup might include:
Two sharpened pencils
One eraser
One dry-erase marker
One highlighter
A small crayon or colored-pencil set
Current notebooks and folders
A personal reading book
Everything else can remain at a shared station.
When working out how to organize student supplies, set a physical limit. If supplies must fit inside one pencil box or one small basket, students have a clear boundary. Oversized collections of novelty erasers and half-used pencils can go home or into a personal storage area.
Schedule a quick desk check once a week. Students can remove trash, return shared materials, replace broken items, and stack papers correctly.
The goal is not a desk inspection worthy of a military academy. It is a usable workspace.
Create Shared Supply Stations
Shared stations offer a practical answer to how to organize student supplies that are useful but not needed all day.
A central station works well for items students do not need throughout every lesson.
Organize the station by task rather than placing unrelated items together. One section might hold art supplies. Another can hold math tools. A third can contain paper, tape, and staplers.
The best supply stations answer three questions immediately:
Where do I get this?
How much may I take?
Where do I return it?
Use shallow bins when students need to see and grab materials quickly. Deep bins often hide damaged pieces and make it harder to notice when stock is running low.
Part of how to organize student supplies is controlling traffic. Avoid placing the only pencil sharpener, paper station, and turn-in tray in the same narrow corner. Spread high-use areas across the room when space allows.
Set Up a Pencil System
Any plan for how to organize student supplies should address pencils before they become a daily interruption.
Pencils cause an unreasonable amount of classroom drama for such a small object.
A simple system uses two labeled cups or bins:
Sharpened
Needs Sharpening
Students exchange a dull pencil for a sharpened one instead of sharpening during instruction. A student helper or adult can sharpen the collected pencils at a scheduled time.
Another option is to assign each student a small number of labeled pencils. This encourages responsibility but requires more tracking.
There is no universal answer for how to organize student supplies like pencils. Choose the system that matches the students’ age, classroom routines, and tolerance for the sound of a pencil sharpener during a quiet lesson.
Organize Papers Separately From Tools
A complete approach to how to organize student supplies also needs a predictable system for paper.
Notebooks, worksheets, permission slips, and completed assignments need their own system. Storing them with scissors and markers usually leads to bent paper and missing work.
Create distinct locations for:
Work to complete
Work to turn in
Graded work
Papers to take home
Absent-student work
Extra copies
Recycling
Use vertical files, wall pockets, trays, or subject folders. Label each location with plain language.
When planning how to organize student supplies, remember that paper flow is part of supply organization. A spotless marker drawer will not help much if students lose every worksheet between the desk and backpack.
How to Organize Student Supplies in Backpacks
Students understand how to organize student supplies more easily when the backpack follows the same categories used in class.
The backpack is the bridge between school and home. It also tends to collect snack wrappers, outdated papers, and mysterious objects from several months ago.
Use a few simple categories:
Homework folder
Take-home folder
Pencil pouch
Technology pocket
Lunch or snack area
Personal items
Choose one folder for papers that need adult attention. Put every permission slip, announcement, form, and returned assignment in the same place.
Students should not need to remember whether an important paper is in the math binder, front backpack pocket, or underneath a lunch box.
When teaching how to organize student supplies in backpacks, model the process. Show students how to place papers inside folders rather than pushing them into the main compartment. Practice packing devices and water bottles safely.
A five-minute backpack reset at the end of the week prevents a much larger cleanup later.
Build a Home Study Station
At home, how to organize student supplies should focus on making homework setup and morning departure easier.
Families can use the same principles at home.
Create one location for homework and school preparation. It does not need to be a dedicated office. A rolling cart, kitchen cabinet, portable caddy, or small shelf can work.
Keep basic supplies nearby:
Pencils
Erasers
Paper
Scissors
Glue
Colored pencils
Charger
Ruler
Calculator
Stapler
Do not duplicate every classroom supply unless the student regularly needs it at home.
A home system for how to organize student supplies should also include a landing spot for backpacks, shoes, lunch boxes, and forms that need signatures. The closer these items are to the exit, the less likely they are to be forgotten in the morning.
Number Technology and Accessories
Numbering is one of the clearest ways to apply how to organize student supplies to devices and small accessories.
Devices and accessories are easier to manage when each item has an identifier.
Use matching numbers on:
Laptop or tablet
Charging slot
Power cord
Headphone pouch
Storage location
If Device 12 belongs in Slot 12 with Charger 12, a missing piece is easier to spot.
Place labels where they remain visible during normal use but do not block vents, ports, serial numbers, or safety information. Use durable stickers on smooth hard cases, and test adhesive before applying labels directly to school-owned electronics.
This is one area where how to organize student supplies becomes an inventory system as much as a cleanup system.
Store Backstock Away From Daily Supplies
Separating extras from daily materials is an important part of how to organize student supplies without creating clutter.
Extra glue, notebooks, markers, pencils, and paper should not all be available at once.
Create a separate backstock area for unopened or replacement supplies. Label each bin and keep a simple list of items that are running low.
Daily-use bins should hold a manageable quantity. Refill them on a schedule rather than waiting until the last marker dries out during a project.
CustomStickers.com notes that clearly labeled bins can create a lightweight inventory system and make it easier for other people to find, use, and return supplies consistently.
If families donate supplies, add new items to backstock first. This prevents one station from overflowing while another runs out.
Teach the System Directly
The routines behind how to organize student supplies need to be shown and practiced, not simply posted on a wall.
A labeled classroom does not automatically create organized students.
Teach how to organize student supplies the same way you teach any other routine. Demonstrate it, let students practice, and correct confusion early.
Show students:
How many items to take
How to carry a shared caddy
Where damaged supplies go
What to do when a bin is empty
How to return materials
When cleanup begins
What the finished area should look like
Photographs can help. Place a small picture of the correctly organized shelf inside a cabinet door or above the station. Students can compare the real shelf to the example without asking an adult.
Keep the routine short. A cleanup system that takes 15 minutes will disappear as soon as the class is busy.
Use Student Jobs
Student jobs can reinforce how to organize student supplies by making the final check part of the classroom routine.
Students are more likely to maintain a system when they have a role in it.
Possible jobs include:
Pencil manager
Paper collector
Technology checker
Supply monitor
Library organizer
Recycling helper
Table captain
The job should have a clear task and completion point. “Keep the room organized” is too broad. “Check that every calculator is in its numbered slot” is specific.
Student jobs do not replace individual responsibility. They provide a final check and help the teacher notice problems before materials disappear.
How to Organize Student Supplies on a Budget
A low-cost plan for how to organize student supplies can work just as well as a room full of matching containers.
You do not need a full set of new matching containers.
Reuse:
Shoe boxes
Food containers
Shipping boxes
Plastic tubs
Zipper pouches
Mason jars
Magazine holders
Small baskets
Check that reused containers are clean, safe, and free of sharp edges. Cover distracting packaging with paper or a simple label when needed.
Spend money first on the areas that cause the most disruption. If headphones are constantly tangled, numbered pouches may be worth buying. If crayons already stay organized in reused containers, there is no need to replace them for the sake of matching colors.
The most affordable answer to how to organize student supplies is to own fewer unnecessary items and make better use of the storage already available.
Create a Weekly Reset
The long-term answer to how to organize student supplies is a short reset completed on a predictable schedule.
No system remains organized without maintenance.
Choose a regular time for students to:
Remove trash
Return shared materials
Refill pencils
Test markers
Sort papers
Check device accessories
Clean supply bins
Report missing items
Friday afternoon or the end of the last class period often works well, but any predictable time can work.
Keep the reset to five or ten minutes. Play one song, display a short checklist, or assign each table one task.
A weekly reset is what turns how to organize student supplies from a one-day classroom project into a routine that lasts.
Common Student Supply Organization Mistakes
Most problems with how to organize student supplies come from systems that are vague, crowded, or difficult to maintain.
Using labels that are too vague: “Miscellaneous” becomes a permanent home for anything nobody wants to sort.
Keeping too much at student desks: Extra supplies create clutter and distractions.
Creating too many categories: If putting away one marker requires a complicated decision, the system will fail.
Using containers students cannot reach: Frequently used materials should be accessible without climbing or adult help.
Changing the system constantly: Give students time to learn one method before redesigning it.
Ignoring broken supplies: Add a small repair or replacement bin so damaged items do not return to circulation.
Focusing only on appearance: Matching bins are useful only when the classroom can maintain them.
Student Supply Organization Checklist
Use this final review to confirm that how to organize student supplies has been turned into a clear daily routine.
Use this checklist when planning how to organize student supplies:
Remove broken and unnecessary items.
Separate individual supplies from shared materials.
Give every category a clear storage location.
Label bins with words, pictures, colors, or numbers.
Keep daily supplies close to students.
Store backstock separately.
Create paper turn-in and take-home locations.
Number technology and accessories.
Teach students how the system works.
Assign specific classroom jobs.
Schedule a weekly reset.
Adjust any part students consistently misunderstand.
Make the System Easy to Follow
The real goal of how to organize student supplies is not a perfect shelf. It is a classroom or study space where students can find what they need and return it without losing learning time.
Start with fewer materials. Give every item a clear home. Use labels, simple categories, and short routines. Then watch where the system breaks down.
If students consistently leave something in the wrong place, the problem may not be the students. The storage location may be inconvenient, the label may be unclear, or the category may be too complicated.
A useful organization system should make the correct action the easiest action. That is how to organize student supplies sustainably.
FAQs
What Is the Best Way to Organize Student Supplies?
The best system gives each supply a clear home, separates daily materials from extras, and is simple enough for students to maintain independently. This is how to organize student supplies consistently.
Should Students Share Supplies?
Shared supplies work well for occasional-use items such as glue, scissors, rulers, and art materials. Personal storage is often better for pencils, folders, notebooks, headphones, and accommodations.
How Can Teachers Organize Supplies in a Small Classroom?
Use vertical storage, wall pockets, stackable bins, rolling carts, and table caddies. Keep backstock away from daily materials and remove items the class does not use.
How Should School Supplies Be Labeled?
Use specific words, readable fonts, and pictures for younger students. Add names, subjects, table groups, class periods, colors, or numbers when they help students find the correct location.
How Often Should Student Supplies Be Organized?
Students should return materials after each use and complete a short reset once a week. Larger cleanouts can happen at the end of a grading period or semester.