
Table of Contents
- TLDR
- Start With One Message
- Design Vehicle Stickers for Distance
- Choose the Right Bumper Sticker Size
- Prepare Artwork That Prints Cleanly
- Use Laminated Vinyl for Outdoor Exposure
- How to Make Your Own Vehicle Stickers With CustomStickers.com
- Pick a Clean Placement
- Apply the Sticker Without Trapping Air
- Common Mistakes to Avoid
- Final Thoughts
- FAQs
TLDR
- Keep the message short, the type bold, and the colors easy to separate at a glance.
- Use laminated outdoor vinyl rather than paper or indoor label stock.
- Measure the bumper, tailgate, trunk, or window before choosing a size.
- To make your own vehicle stickers without buying printing equipment, upload your artwork to the CustomStickers.com bumper sticker product and review the proof before printing.
A vehicle sticker gets only a few seconds to work. Another driver should be able to understand it without studying a crowded layout. And once it is applied, it has to handle sun, rain, road grime, washing, and changing temperatures.
You do not need a commercial printer or cutting machine to make your own vehicle stickers. Create the artwork in Canva, Illustrator, or another design program, then have it printed as a laminated vinyl bumper sticker. You control the design while a professional printer handles outdoor production. That control is the main advantage when you make your own vehicle stickers instead of buying a generic design.
Start With One Message
Before choosing fonts or colors, decide what the sticker needs to communicate. It might promote a business, support a school or team, advertise an event, share a joke, identify a club, or give customers a branded item they will use.
The simplest way to make your own vehicle stickers is to reduce the idea to one clear message. A business name and short website will usually read better than a logo, phone number, address, slogan, social handle, and QR code squeezed together.
Ask three questions:
- What should someone notice first?
- What should they remember?
- Is there one action they should take?
For a contractor, the answer may be a company name and web address. For a fundraiser, it may be the cause and a short slogan. For a personal bumper sticker, the illustration or joke may do all the work. When you make your own vehicle stickers for a business, build the design around one memorable action.
Design Vehicle Stickers for Distance
A bumper sticker is not a flyer. Thin scripts, long sentences, and tiny details may look fine on a large monitor but disappear on the road. When you make your own vehicle stickers, check readability at the final printed size.
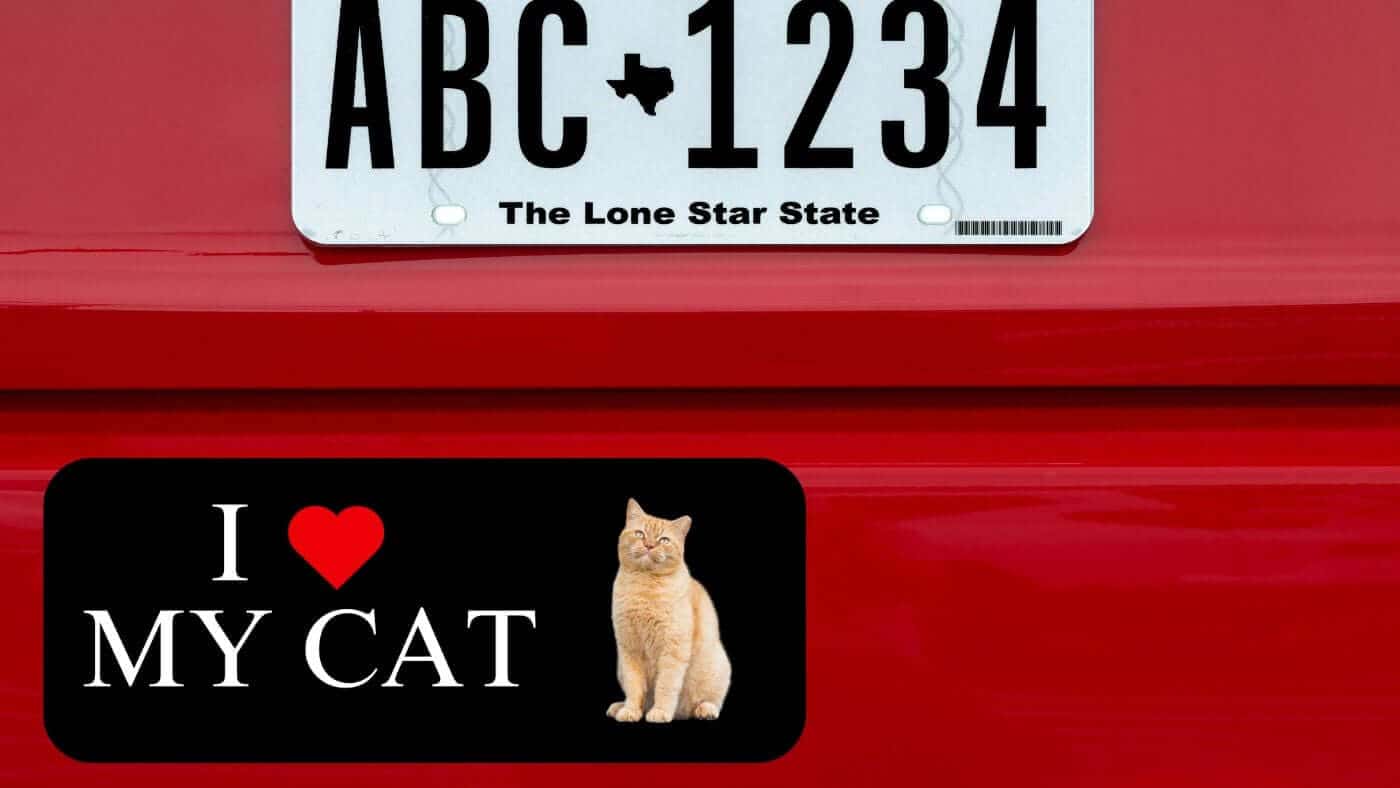
Use a bold font and strong contrast. Dark lettering on a light field or light lettering on a dark field is easier to read than two similar colors. Keep the main wording short and give each element room around it.
Before you make your own vehicle stickers, view the layout at its final printed size. A useful layout has three levels:
- One main message
- One logo, icon, or illustration
- One optional detail, such as a website
Avoid placing important text close to the cut edge. CustomStickers.com recommends at least 0.05 inch of safety space between key artwork and the cutline. Full-bleed artwork should extend past the finished edge, with about 0.03 inch available for trimming.
Choose the Right Bumper Sticker Size
Measure the intended location before you make your own vehicle stickers. Watch for curves, seams, sensors, handles, textured plastic, and body lines. Smooth painted metal or glass normally gives the adhesive a more even surface than heavily textured trim.
CustomStickers.com offers three standard bumper sticker sizes, along with custom sizing and shapes. The design works better when you make your own vehicle stickers with the final placement in mind.
| Design Goal | Suggested Starting Size |
|---|---|
| Short phrase or compact logo | 7.5 × 3.75 inches |
| Traditional bumper sticker | 11.5 × 3 inches |
| Longer slogan or wide branding | 15 × 3.75 inches |
| Mascot, badge, or shaped artwork | Custom shape |
Measure twice when you make your own vehicle stickers for a curved or divided panel. A long rectangle suits a slogan. A custom outline may suit a mascot or badge. Do not choose a large sticker only because it attracts attention. The shape should fit the panel without crossing curves or blocking vehicle features.
Custom Bumper Stickers
$10.99
Description Take Your Message on the Road With Standout Bumper Stickers With custom stickers, it's easy to upload your design and make your own custom bumper sticker. Promote your business or team by creating custom designs, for your car bumper.… read more

Prepare Artwork That Prints Cleanly
To make your own vehicle stickers with crisp text and clean edges, start with the best original file available. For raster artwork, use 300 pixels per inch at the finished size. PNG and JPG files can work well. SVG, AI, and EPS files are useful for logos and graphics that may need resizing.
Use original files when you make your own vehicle stickers in Canva or another design program. Avoid downloading a small image from social media and enlarging it. Compression and low resolution can create soft edges or visible pixels. Use the original photo, logo, or illustration.
CustomStickers.com generally recommends RGB artwork for its printing setup. The company accepts common file formats and sends a digital proof before production, so you can check the crop, spelling, border, and cut shape.
A QR code needs extra care. CustomStickers.com lists 0.5 inch as its smallest printable readable size, but notes that a code that small may not scan on every phone. Make it larger when space allows, preserve clear space around it, and test the proof at actual size.
Use Laminated Vinyl for Outdoor Exposure
Paper sticker stock may be fine for a notebook or shipping box. A vehicle is different. It exposes the sticker to water, ultraviolet light, dirt, heat, cold, and abrasion.
When you make your own vehicle stickers for a car or truck, laminated vinyl is the practical material. The vinyl forms a flexible, water-resistant base. Laminate covers the printed image and helps protect it from moisture, sunlight, scratching, and road grime. Material choice matters when you make your own vehicle stickers for years of outdoor use.
The Custom Bumper Stickers product uses full-color printing on white vinyl with a laminate coating rated for five years outdoors. It is available in matte and glossy finishes, with removable adhesive intended to stay in place but come off without sticky residue.
Glossy laminate gives colors a brighter, traditional sticker appearance. Matte reduces glare and looks more subdued. Choose based on the design and vehicle, but settle the message and contrast first. Finish cannot rescue unreadable lettering.
How to Make Your Own Vehicle Stickers With CustomStickers.com
Proofing matters when you make your own vehicle stickers, especially for business names, dates, and web addresses. The ordering process has six basic steps.
1. Measure the Placement
Check the bumper, trunk, hatch, tailgate, or window. Confirm that the sticker will not cover a sensor, light, license plate, handle, or important part of the driver’s view.
2. Build the Artwork
Use a horizontal canvas for a standard bumper sticker or a custom outline when the shape is part of the design. Canva offers editable bumper sticker templates, but any program that exports a clear, high-resolution file can work.
3. Check the Design at Full Size
To make your own vehicle stickers that read in traffic, shorten the wording, enlarge the main type, and remove details that do not help the message.
4. Upload and Select Options
When you make your own vehicle stickers in bulk, ordering one first can help confirm size and readability. Choose a standard or custom size, quantity, and matte or glossy finish. CustomStickers.com has no minimum quantity, so one personal bumper sticker and a larger batch follow the same basic process.
5. Review the Free Proof
Check spelling, dimensions, crop, margins, borders, and cut placement. You can approve the proof or request revisions before production.
6. Approve the Sticker
Once the proof looks right, approve it for printing. You still make your own vehicle stickers by controlling the message and artwork, while commercial equipment handles printing, lamination, and cutting.
Pick a Clean Placement
Placement should be settled before you make your own vehicle stickers. A smooth rear bumper is the classic location, but many vehicles now use textured plastic that may not provide an ideal surface. Other options include the trunk, hatch, tailgate, side window, rear window, toolbox, or trailer panel.
Before you make your own vehicle stickers for glass, consider visibility. Keep opaque artwork away from the main viewing area. A small sticker near an edge is usually safer and cleaner than a large block across the rear window.
Printed bumper stickers and transfer decals also solve different problems. Printed stickers suit full-color artwork, gradients, illustrations, and messages with backgrounds. Transfer decals often suit one-color lettering or simple window graphics. The car stickers and decals guide explains the difference.
Apply the Sticker Without Trapping Air
Surface preparation becomes part of the project when you make your own vehicle stickers. Clean the surface and let it dry completely. Dirt, wax, grease, and moisture can interfere with the adhesive. Avoid applying over fresh paint, damaged clear coat, rust, or peeling material.
Hold the sticker in position while the backing is still attached. Mark the location with painter’s tape. Peel back a small part of the liner, press down one edge, and slowly remove the rest while smoothing from the center toward the sides.
A felt squeegee works well. A firm plastic card wrapped in a soft cloth can also help. Do not stretch the vinyl. After you make your own vehicle stickers and apply them, give the adhesive time to settle before washing the vehicle.
Hand washing around the sticker is gentler than aiming a pressure washer at its edges. Avoid harsh scrubbing that can catch a corner and start lifting it.
Common Mistakes to Avoid
Check the final dimensions again before you make your own vehicle stickers. The most common mistake is trying to say too much. One clear line is more useful than six tiny details.
Another is designing before measuring. A sticker that crosses a seam, sensor, curve, or textured area may never sit properly.
Low-resolution artwork is also a problem. To make your own vehicle stickers with sharp results, use an original file or vector logo instead of an enlarged screenshot.
And always read the proof. Check every letter, even when you created the artwork yourself. Familiar wording is easy to skim past.
Final Thoughts
Clarity wins on the road. You can make your own vehicle stickers without setting up a home print shop. Start with one message, design for distance, measure the actual placement, and use high-resolution artwork on laminated outdoor vinyl.
For a personal vehicle, one clean design may be enough. For a business, school, club, fundraiser, or event, the same bumper sticker can become a practical giveaway. CustomStickers.com keeps the production side simple: upload the artwork, review the proof, approve the cut, and apply the finished sticker to a suitable surface.
FAQs
Can I Make My Own Vehicle Stickers From a Canva Design?
Yes. Export a high-resolution PNG or print-quality PDF, upload it to the bumper sticker product, and review the final dimensions in the proof.
What Material Is Best for Vehicle Stickers?
Use outdoor-rated vinyl with a protective laminate. Paper and basic indoor labels are more likely to absorb water, fade, tear, or peel.
Will a Bumper Sticker Damage Car Paint?
CustomStickers.com uses removable adhesive intended to come off without sticky residue. Apply it only to clean paint and clear coat in good condition, not fresh, rusted, peeling, or damaged areas.
Can I Order One Bumper Sticker?
Yes. The CustomStickers.com bumper sticker product has no minimum order quantity.