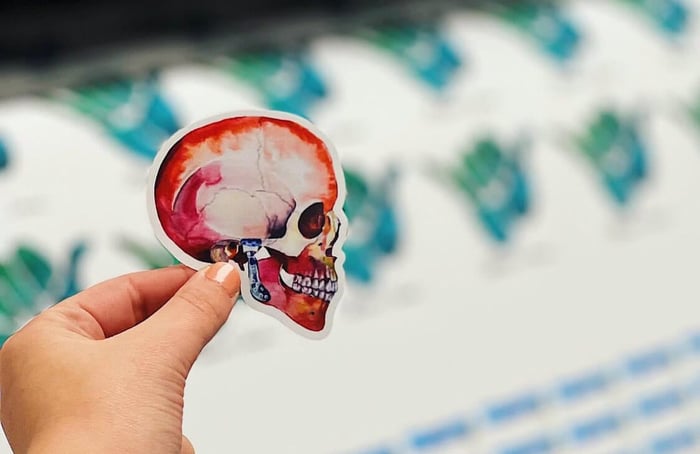

Introduction
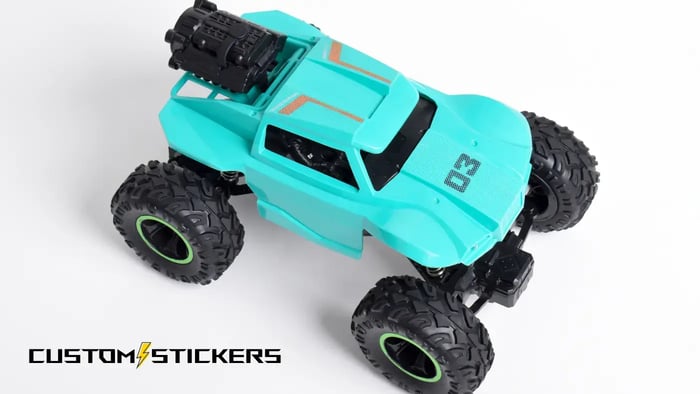
RC cars can be serious fun. Some people tune them for speed, while others spend hours getting the suspension and electronics just right. But there’s another piece of the puzzle that can have a big impact on how your car stands out: decals. A well-placed set of decals for RC cars can transform a basic shell into something that reflects your personality or matches a real-world racing livery. If you’re unable to find exactly what you need off-the-shelf, a custom solution can be the way to go. You might opt for bold graphics or subtle sponsor logos. Either way, the process is fairly straightforward, and the results can be worth the effort.
Designing and Tools
Before ordering or applying your new stickers, consider what look you’re going for.
Theme and Color
Start by choosing a color scheme or overall style. Maybe you want a black-and-white design for a sleek on-road car. Or you prefer a vibrant set of decals for your off-road truck. Keep in mind the paint color of the RC body, so your stickers don’t clash.Software and File Prep
Creating a clean file is important. If you’re working with images, go for high resolution so you don’t end up with fuzzy edges. If you’re working with text or logos, vector formats can help keep everything sharp when resized.Measurement Matters
It’s easy to guess the size of your decals, but a little measuring goes a long way. Knowing the exact dimensions of your RC car’s hood, doors, or side panels helps you place your graphics more precisely. That way, you won’t have to trim off parts of your design later.
Ordering Your Decal Sheet
Once your design is ready, you need the physical product. Using a custom printing service can make life easier:
Upload Your File
At CustomStickers.com, you can upload your design in your preferred format when ordering Custom Transfer Decals. Make sure the colors match what you want on your RC body.Choose Size and Finish
Select the measurements that fit your car. You can usually pick from different finishes like matte or glossy. If you’re not sure, think about the overall aesthetic of your RC. A glossy finish might look great on a bright race scheme, whereas a matte finish could suit a more understated look.Pricing and Quantity
Once you’ve uploaded your file, you can add the items to your cart. Look over the pricing breakdown to ensure it’s within your budget. Some people order extras in case of application errors or to have spares for future builds.Final Confirmation
Double-check your designs before you finalize the order. Make sure you haven’t forgotten any sponsor logos, text, or minor details. After everything is confirmed, simply wait for the finished decal sheets to arrive.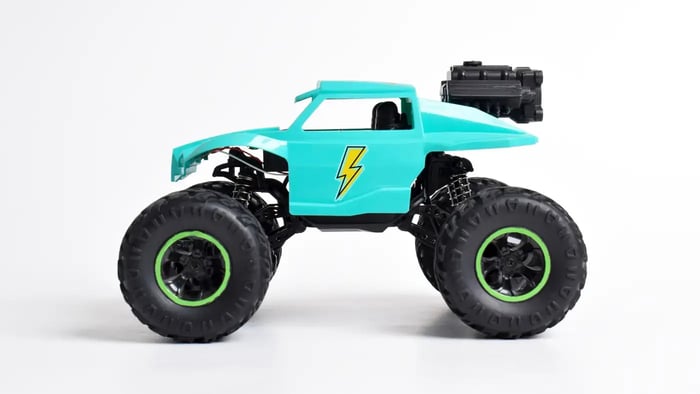
Applying Your Decals
Applying decals can be fun but requires a bit of care. Here’s a concise approach:
Mark Your Spot
Use a water-soluble pencil or a light marking tool to outline the exact placement for your decal on the RC car body. These guidelines help ensure you don’t go off-center.Separate the Decal from the Backing
Gently pull off the transfer tape, which keeps your entire sticker design in place. Align it with the guidelines you made, then press it down where you want it to sit.Secure and Press
Once the decal is positioned, use a credit card or something similar to apply firm, even pressure across the entire design. This step removes air pockets and helps the adhesive bond with the surface.Peel at an Angle
Slowly peel the transfer tape back at a flat 180-degree angle. If the decal starts to lift at any point, press it back down and continue peeling carefully. Let the sticker sit for a few minutes to help the adhesive set. If your design is intricate, consider waiting up to 24 hours before removing the transfer tape entirely.Deal with Bubbles
Small air bubbles often disappear on their own after a few weeks. If you spot a large or stubborn bubble, gently warm the area with a hairdryer, then use a needle to puncture the bubble and smooth it out.
Maintenance and Final Thoughts
Your custom decals bring a personal touch to your RC car, but they also face wear and tear. If you bash your truck off-road or drift on rough asphalt, collisions and dirt can challenge the longevity of your stickers. A little maintenance can help:
Gentle Cleaning
Dirt can gather around the edges, so clean your car regularly with mild soap and water. Avoid harsh chemicals that might eat away at the adhesive.Check Edges
If you see corners lifting, warm them gently and press them back down. A coat of clear spray over the decals can add an extra layer of protection, but test a small area first.Order Extras
Consider ordering a few more decals than you need. That way, if you tear one during application or damage it in a crash, you have a backup ready to go.
Custom decals are a quick way to set your RC car apart from the rest. They’re perfect for adding sponsor logos, scale details, or just a fun pop of color. In my opinion, seeing that newly decorated shell on the track or in your driveway is a rewarding payoff. So if you’re looking to create a more personal RC experience, designing your own stickers and getting them professionally printed is a great place to start. Enjoy the process, and have fun showing off your one-of-a-kind ride.