
Note that adding cut lines to your design is completely optional if you are ordering stickers from us. Our designers will do this for you free of charge. However, this can be a very useful skill if you want complete control of the finished sticker, or if you want to try printing and cutting your own stickers.
We've created a video walkthrough that makes it super simple to follow along. Watch our tutorial below, or keep reading for detailed instructions! With that said, let's jump into it!
At CustomStickers, our equipment is designed to hit a very high level of accuracy and precision. This is a great thing because it means that we can hit a very wide gamut of color and a high level of detail comes through on your print. Likewise, when our graphic designers set up cutlines for your stickers, our cutters will follow their programming exactly.
For customers who might want more control over how the finished product comes out, creating your own cut lines is a great option.
Table of Contents
Introduction to Cut Lines in Adobe Illustrator
A cut line is a carefully crafted path that outlines the design and determines how the sticker will be cut. In this article, we will provide a detailed explanation of cut lines, their significance, and the steps involved in creating them for both vector and raster artwork.
A cut line serves as a guide for the cutting process and is responsible for creating the white border typically seen around sticker designs. This border not only adds aesthetic appeal but also plays a key role in making sure the design is front and center, and that it is easily distinguishable from its background.
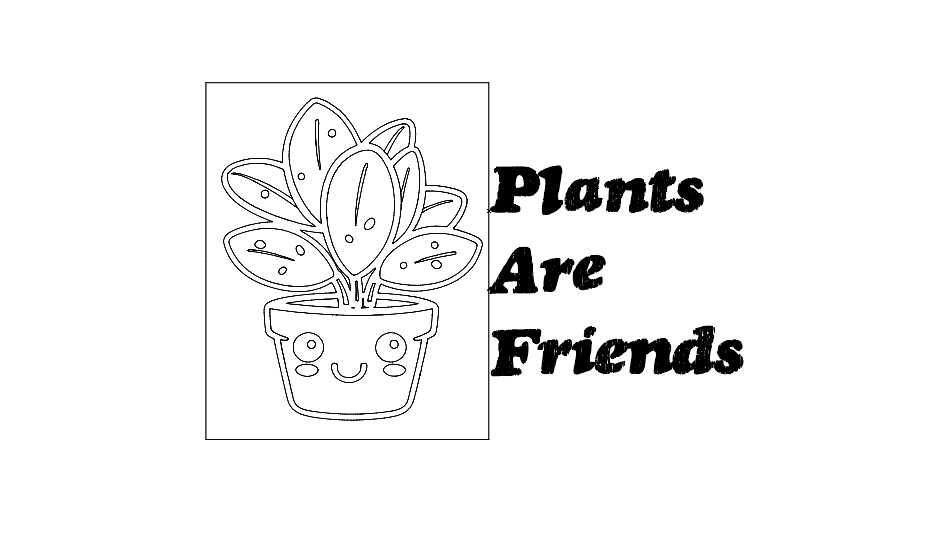
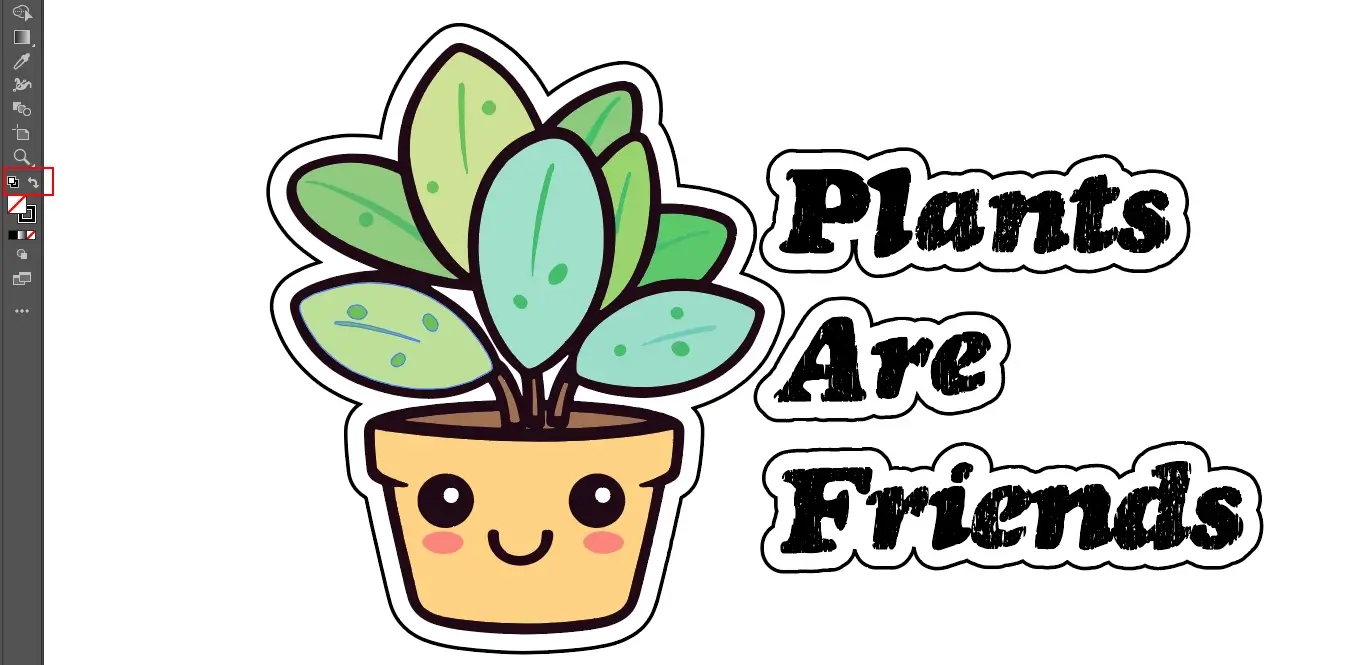
Creating a cut line involves a series of steps, which differ slightly depending on whether the artwork is in vector or raster format. Below, we have outlined the process for each format. Here is the design we will be working with today for our Vector image:

Steps for Adding a Cut Line to a Vector File
Step 1: Getting Started
First, open your design in Adobe Illustrator and look for any strokes present in your design. You can use Outline view to help you find them. If you are on a Mac, press ⌘ + Y or on a PC, press CTRL + Y.
Once you have identified the strokes, select them and go to Object > Path > Outline stroke.
Step 2: Creating Outlines
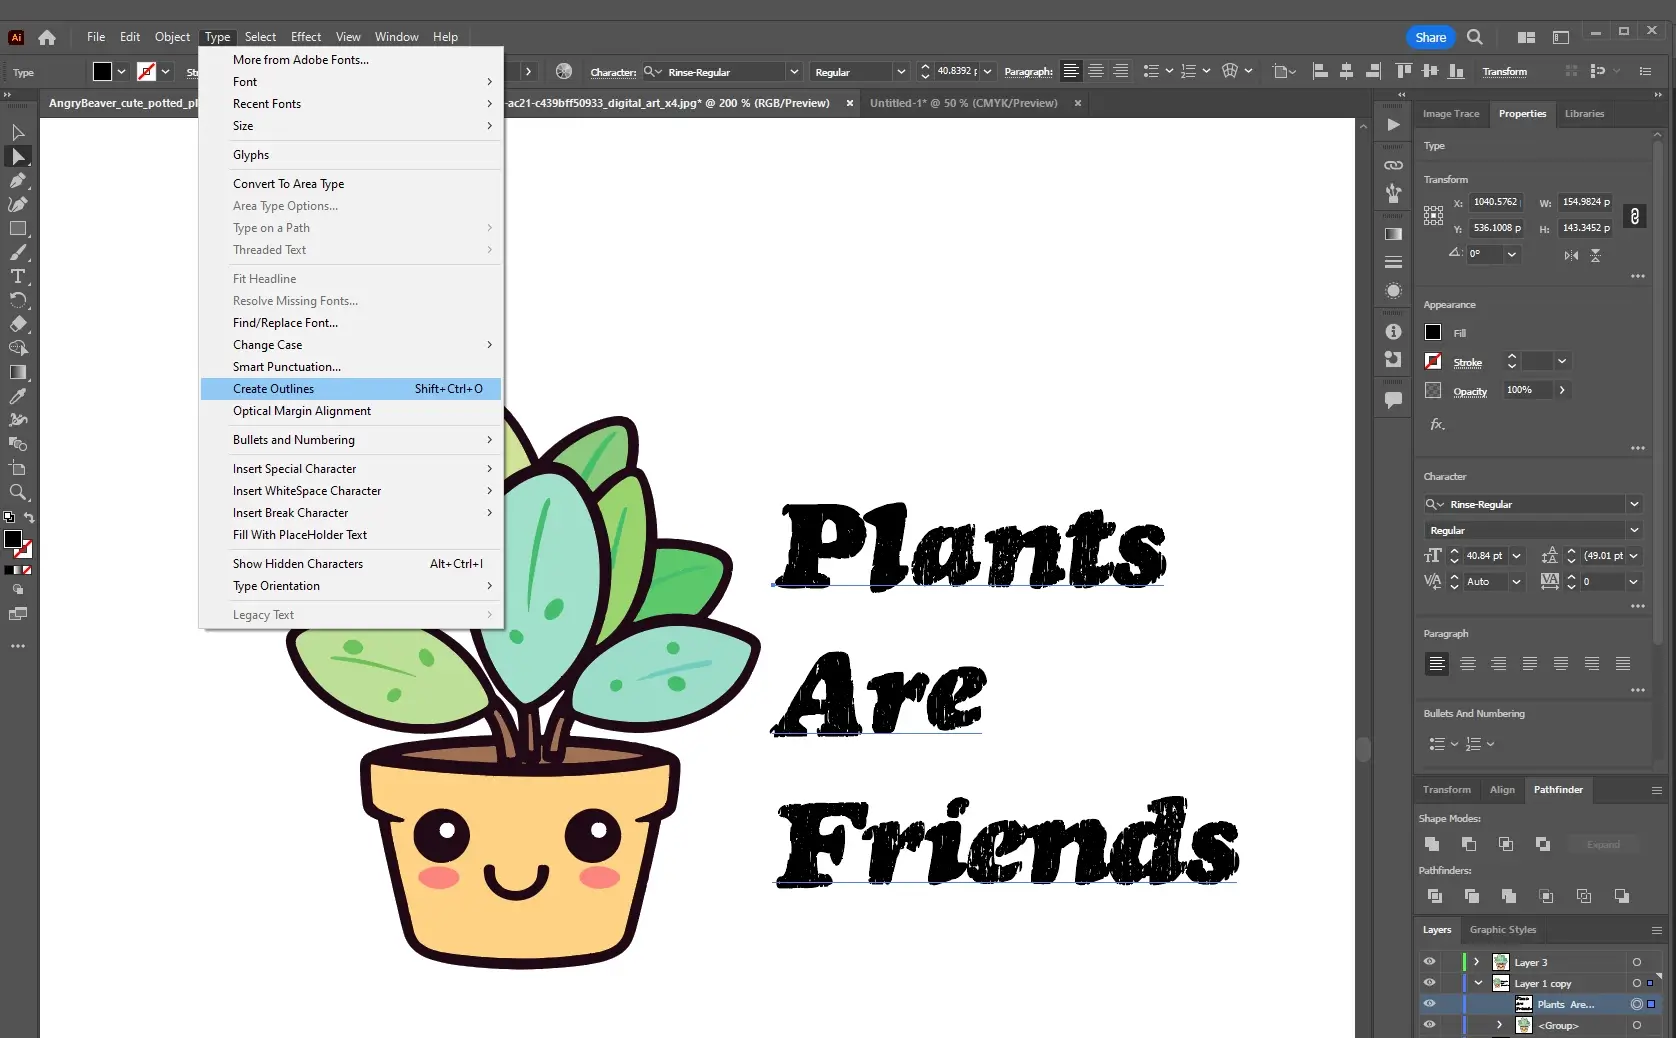
Next, select all the text within your design. Then, right-click and select Create Outlines. If you are on a Mac, press Shift + ⌘ + O or on a PC, press Shift + CTRL + O. Or, using the menu system, go to Type > Create Outlines.
Step 3: Generating the Cut Path
Now, go to the Layers window and hold down the Option key (Mac) or Alt key (PC). Then, drag the layer that your artwork is on, on top of itself. This will create a new duplicate layer, which is where you will create the cut line.
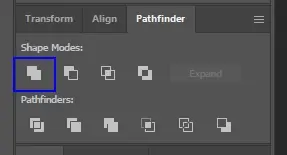
On the duplicate layer, use the pathfinder tool to merge all of the vector objects into a single object using the "unite" function.
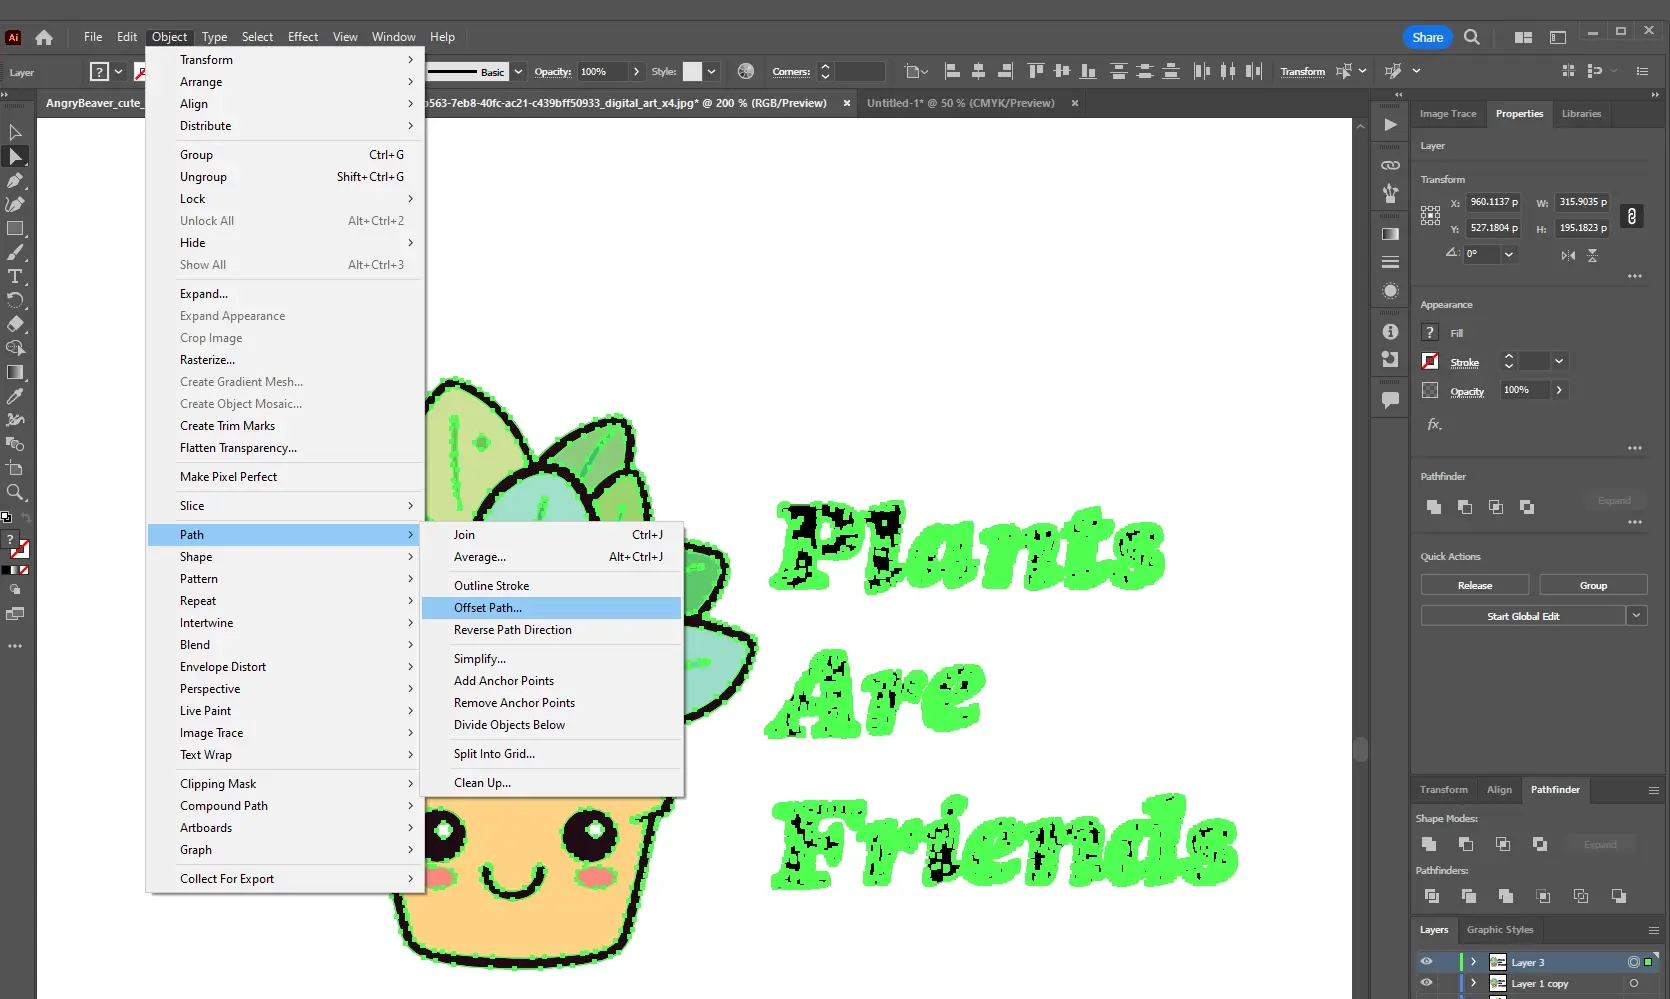
To create the cutline on the duplicate layer, use the menu Object > Path > Offset Path.
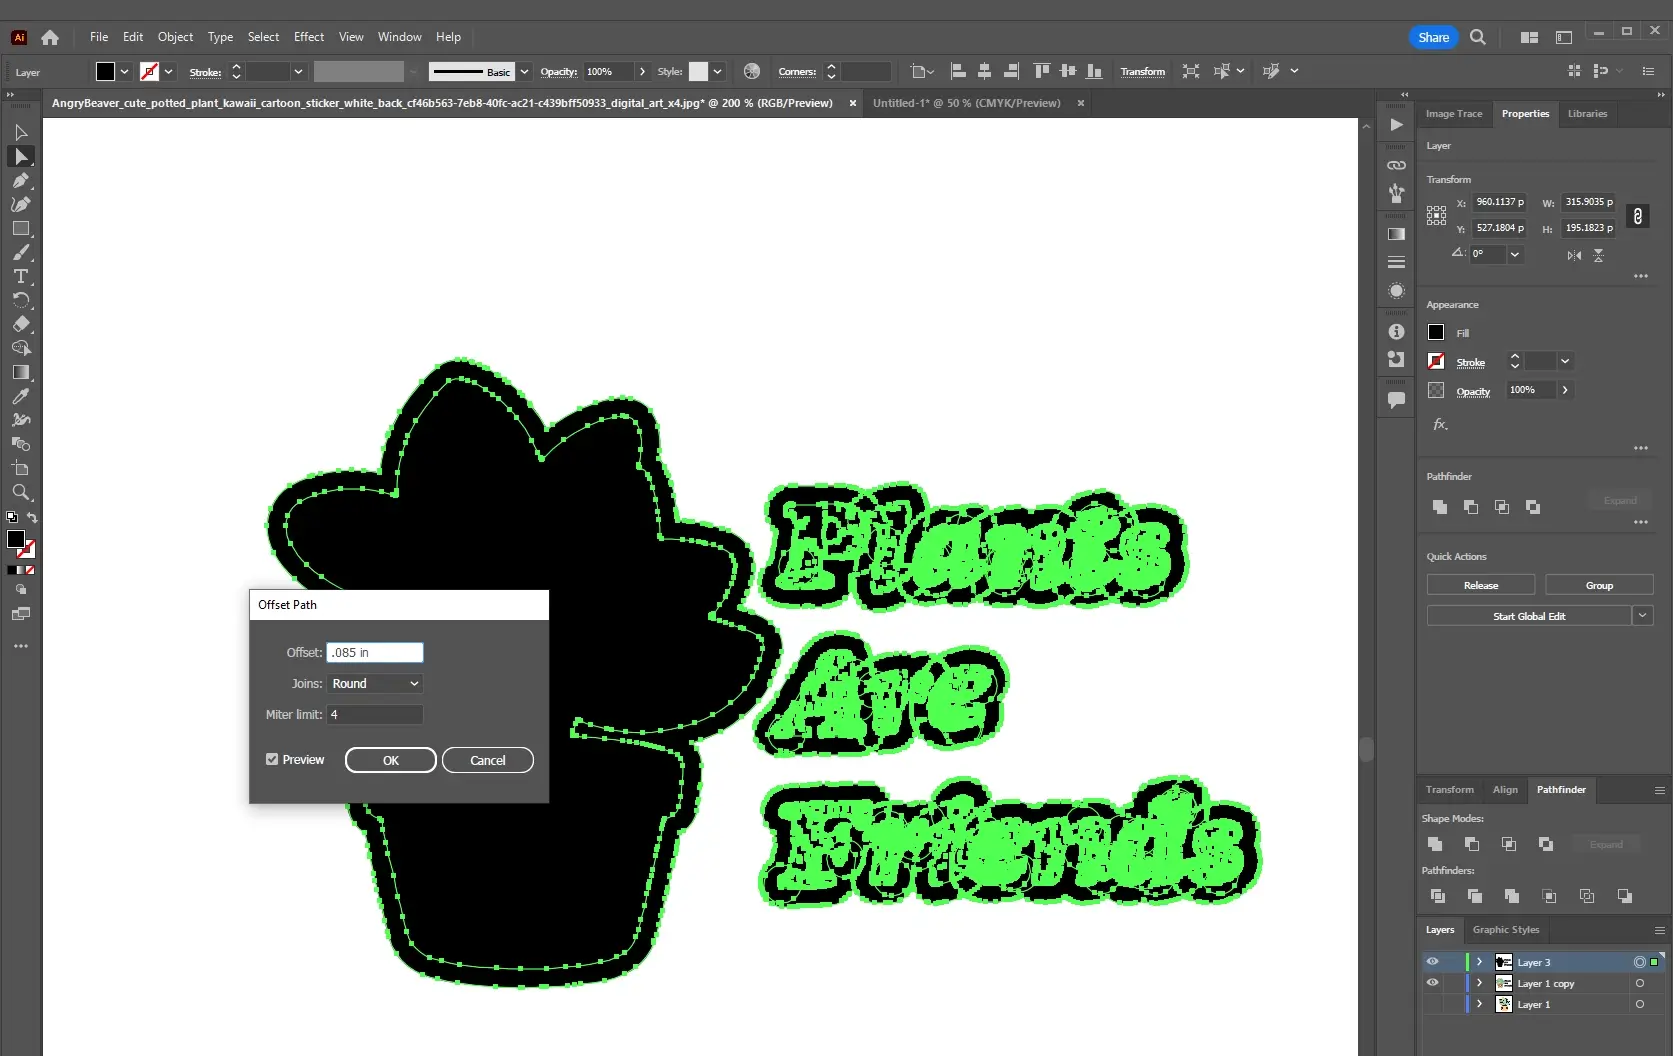
Now you can decide how wide you want the border to be. We recommend at least 0.07in. For 3 inch stickers, we typically use a 0.085in border width.
Unite the vectors again using the same pathfinder function. Then convert the filled object to a stroke. The easiest way to do this is to click the little arrows above the fill/stroke color panel.
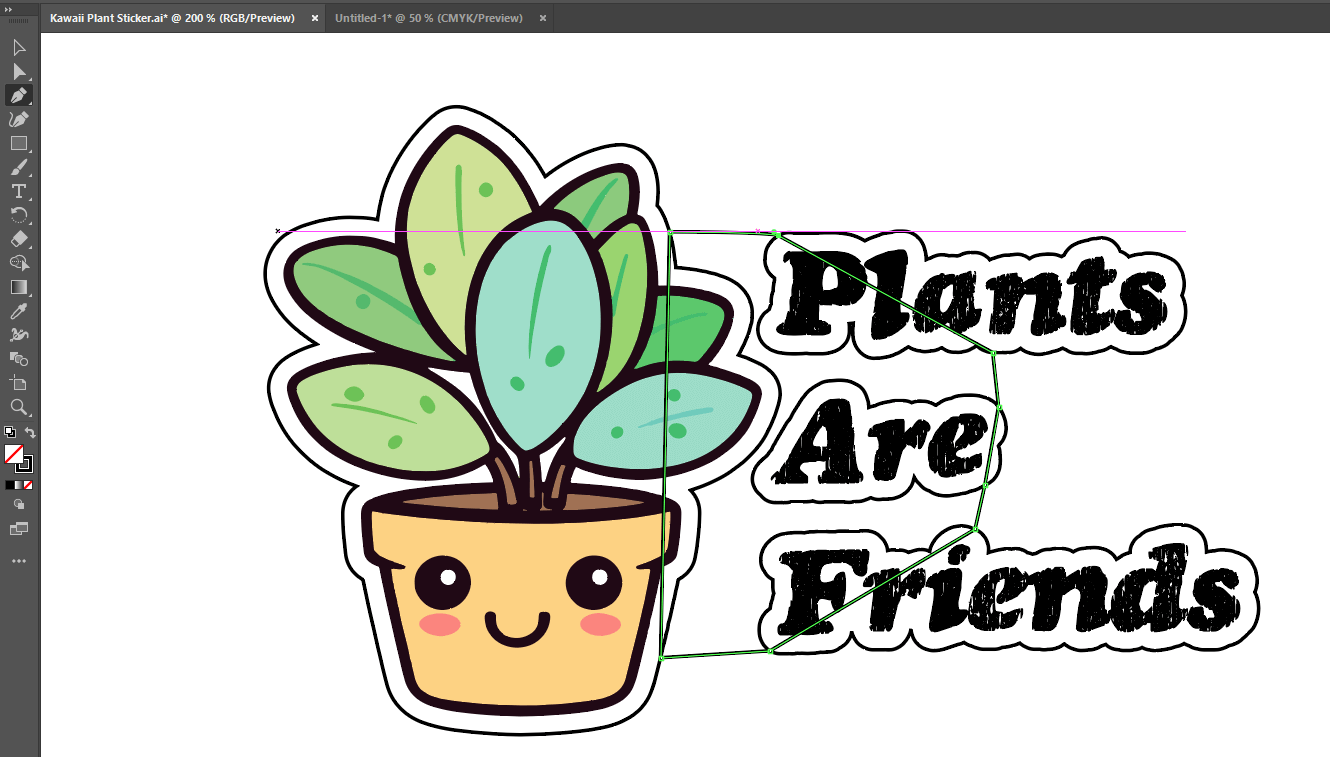
You can see that right now, our words and design are too far apart, and the cut line is set to make them cut individually. So let's move on to step 4, in which we will clean up and finalize the cut path.
Step 4: Cleaning Up the Cut Line
You can close the gaps in the cut lines using the pen tool. It's as simple as selecting the tool, and drawing a new shape where you want to add more border.
Now hit the "unite" function once again.
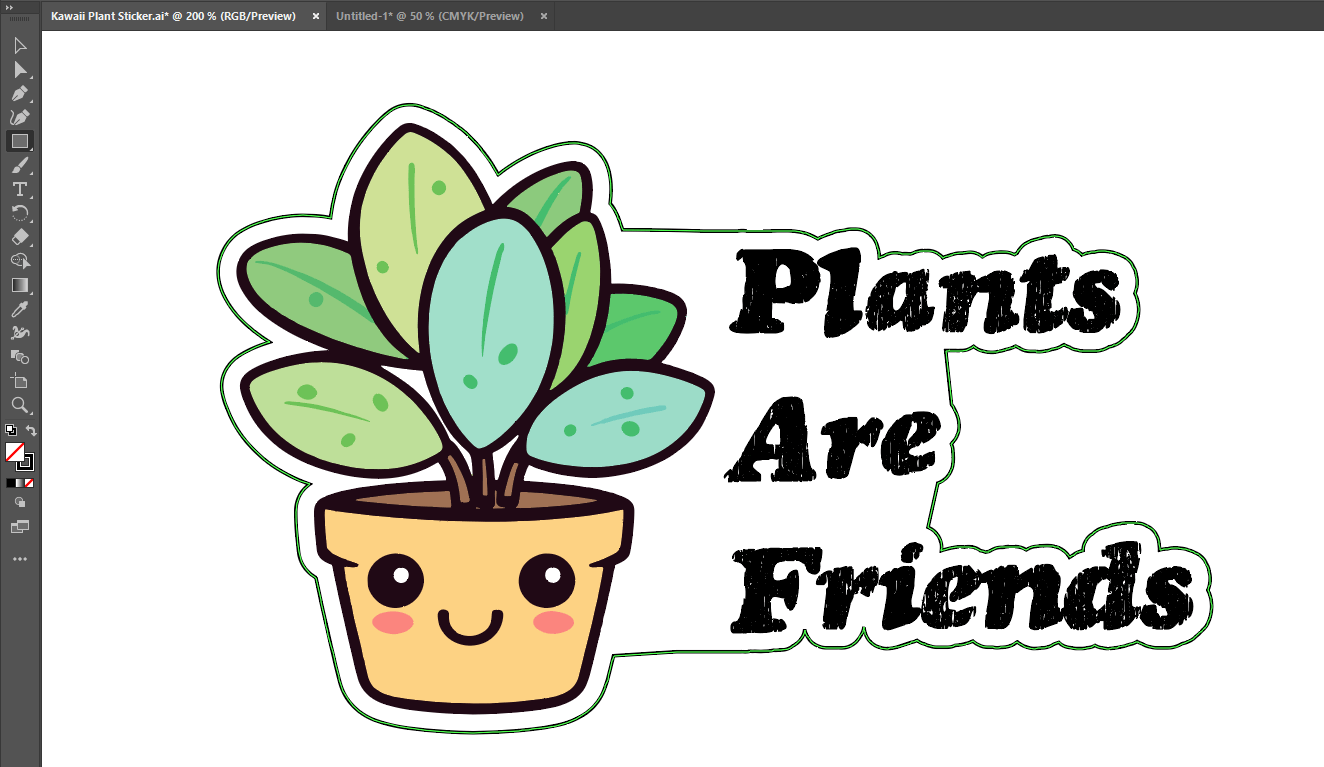
Now, we can also simplify the cut line, and round the corners a bit. To simplify, select the cut path only, and then using the menu, go to Object > Path > Simplify and a slider will pop up, allowing you to choose how much to simplify.
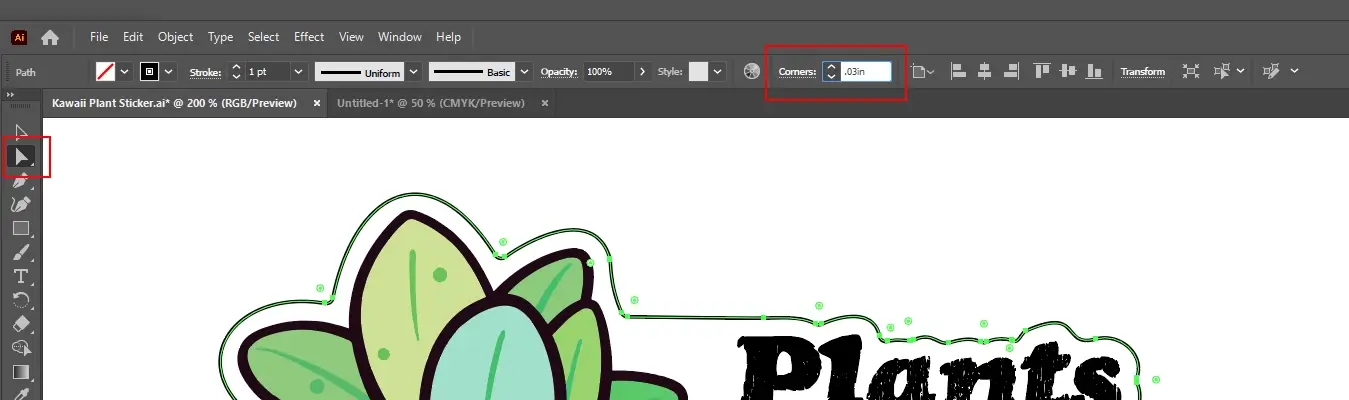
Next, click on the direct selection tool, and an option will appear on the top bar to adjust the corners. We typically make the corner radius around 0.025 to 0.03 inches.
Now here is the finished sticker with the cut line:
Once you have created the cut line, you can lock the layer.
That's it for adding a cut line to vector images. If you are interested in the raster instructions, keep reading. We hope this guide has been helpful in teaching you how to create a cut line for vector artwork.
Steps for Adding a Cut Line to a Raster File
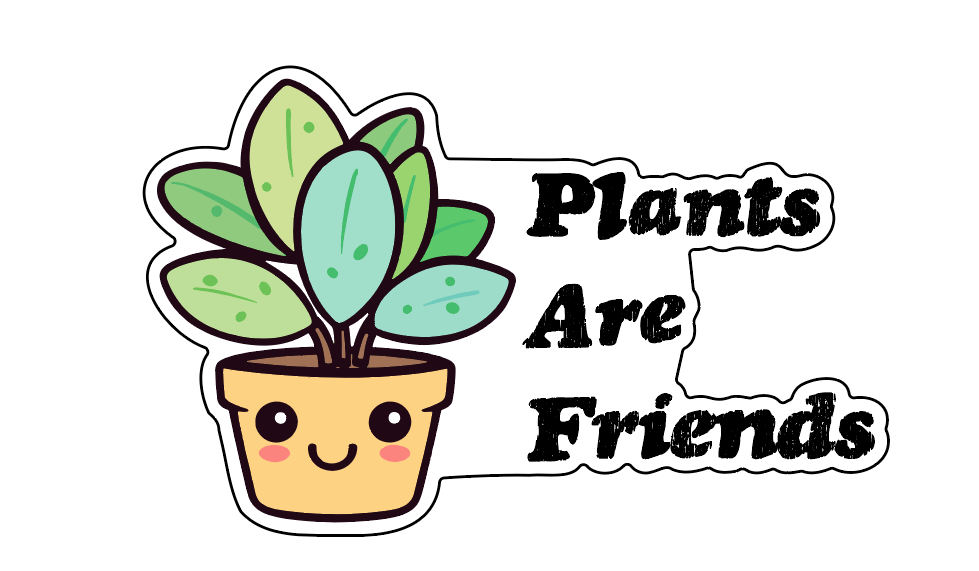
Here is the image we'll use for our raster file example. This flower sticker was made using Midjourney AI. Check out our detailed article if you are interested in learning how to use AI to make sticker images.

Part 1: Preparing the Raster Artwork (Steps 1-3)
Step 1: Open the Design in Adobe Illustrator
Begin by opening your design in Adobe Illustrator. In the Layers window, hold the Option key (Mac) or Alt key (PC) and drag the layer containing your artwork onto itself. You can also drag the image onto the little + icon at the bottom of the layers window.
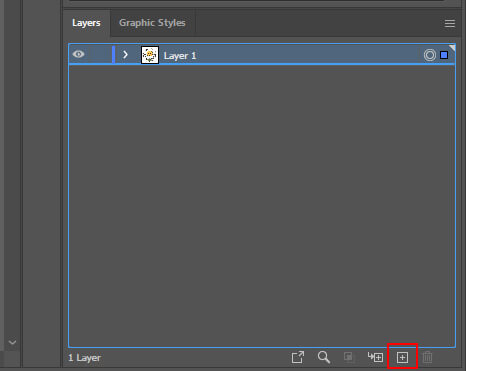
This action creates a new duplicate layer, of your raster image which is where you will establish the cut line. You can then lock the original layer to prevent any accidental modifications.
Step 2: Convert the copied layer of the Image into a Vector
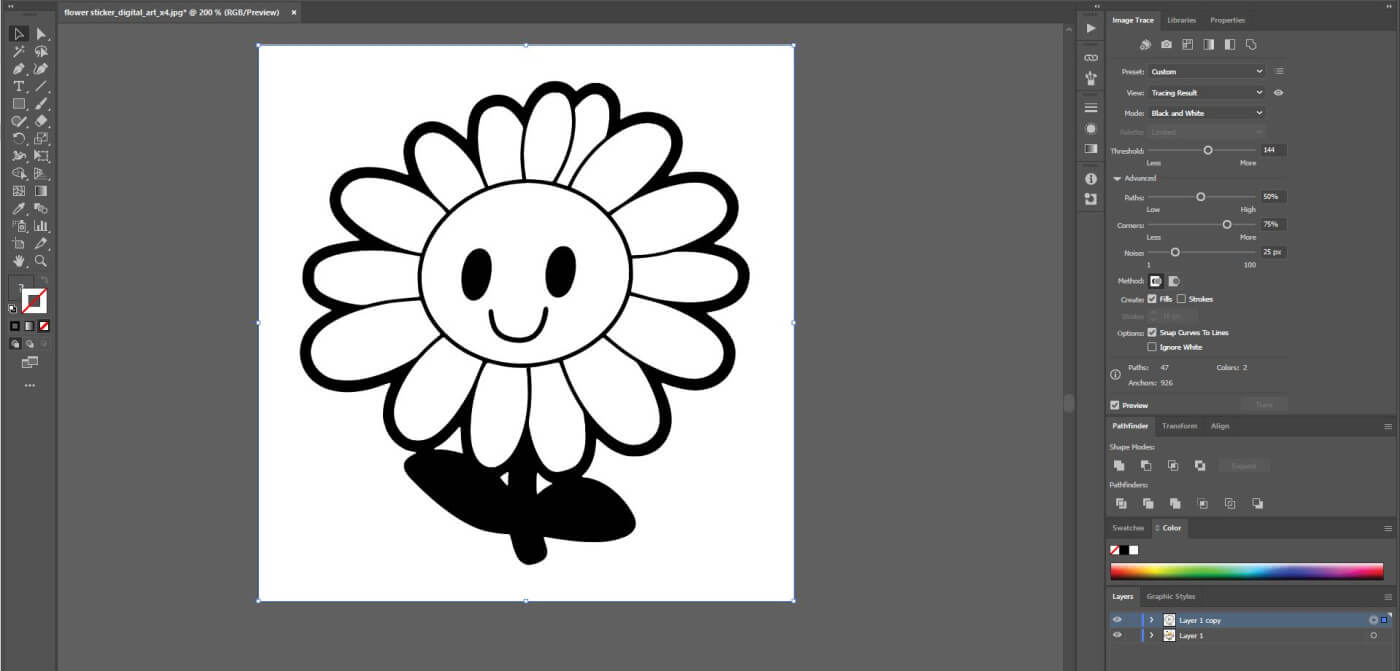
Select your duplicated image and navigate to the Image Trace window to convert it into a vector. During this step, focus on the perimeter of the shape rather than the colors or fine details. In fact, depending on the simplicity of your design you might want to use black and white only (this is the default). The objective is to ensure that the shape's outline matches your original design accurately. Hit "preview" to see the trace before you finalize it. Here are our settings before we finalize the trace.
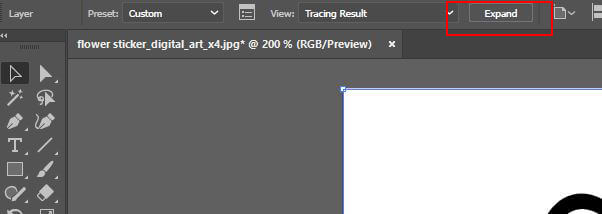
Once you are satisfied with the appearance, click "Expand" to create a vector shape.
Step 3: Remove the Bounding Box
Adobe Illustrator often generates a white bounding box around your design, which must be removed. To do this, right-click on your design, select "Ungroup," then click on the bounding box and press "Delete."
You can also use the "Direct Selection Tool" and click directly on the outside white layer, and then delete it.
Part 2: Creating the Cut Line (Steps 4-7)
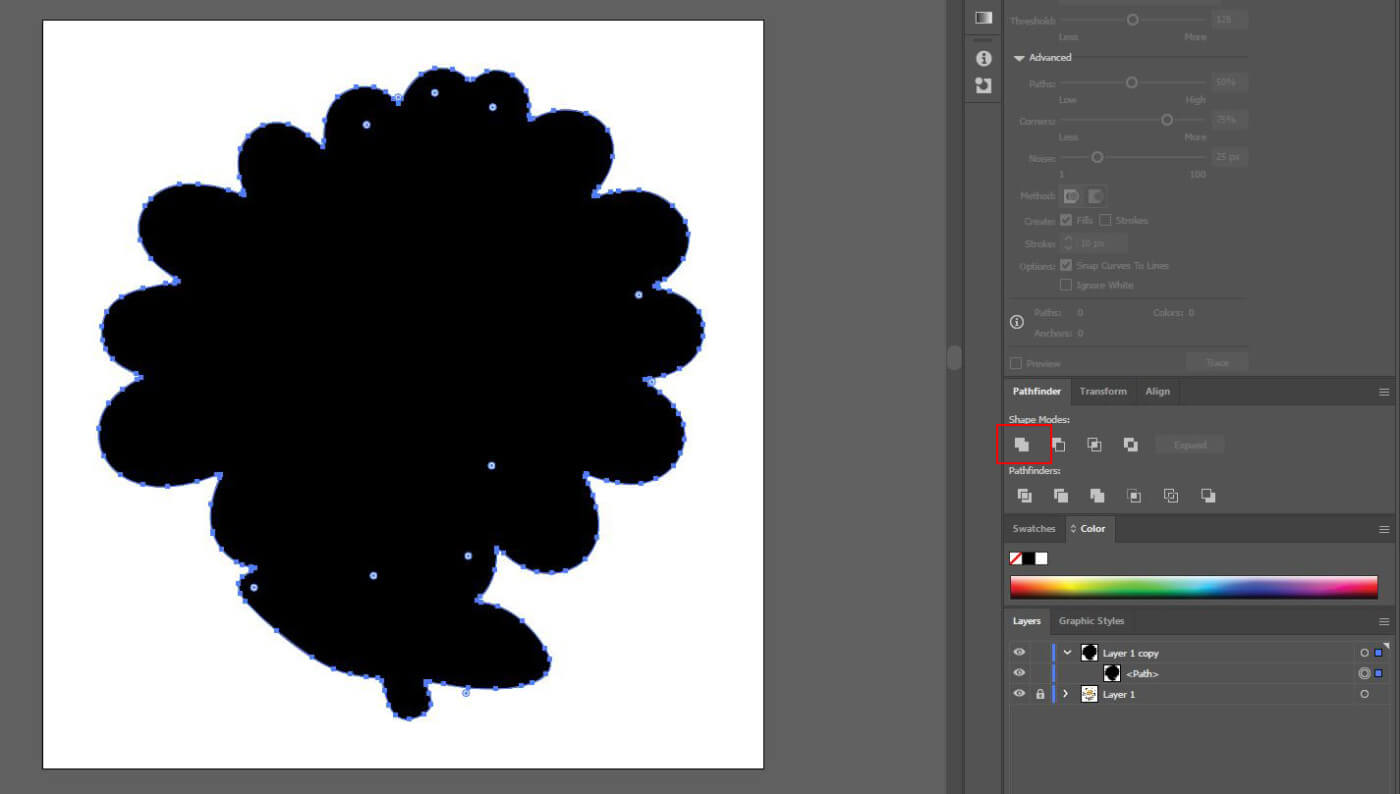
Step 4: Unite the Image Elements
Regardless of the image format you started with, the following steps are applicable. Select all elements on your cut line layer, then click on the "Unite" icon in the Pathfinder window. This action will merge the entire image into a single shape.
Step 5: Offset the Path
With the shape still selected, go to Object > Path > Offset Path. In the Offset Path panel, enable the "Preview" option and adjust the Offset value until you are content with the border's width. Afterward, press "OK." (For reference, we require a minimum border of 1/16".) Our default at Custom Stickers is to use an offset of 0.075in for 2in stickers, 0.08in for 3in stickers, and 0.085in for 4in stickers.
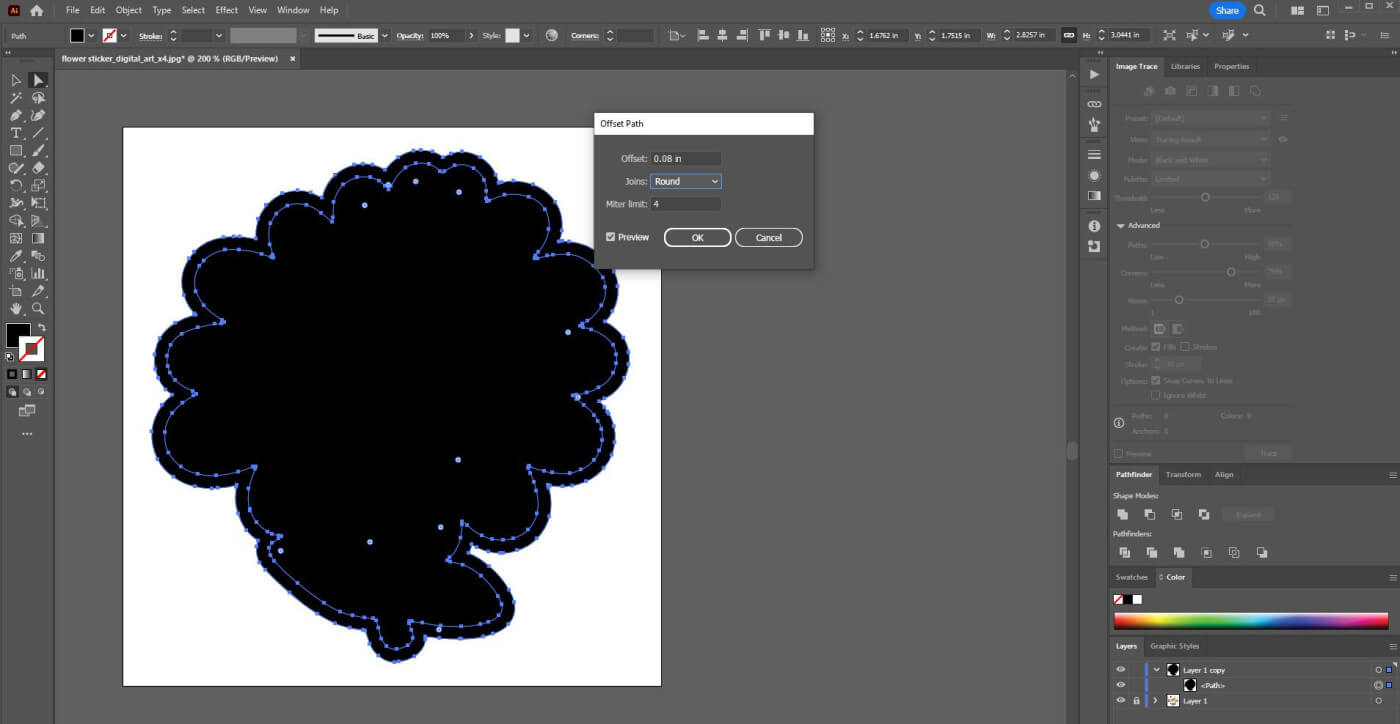
You should also make sure the "Joins" is set to "Round," otherwise you are going to get wonky sharp points where you probably don't want them. Remember, this is all on our cut path layer, we still have the original art work locked on a different layer.
Step 6: Refine the Cut Line
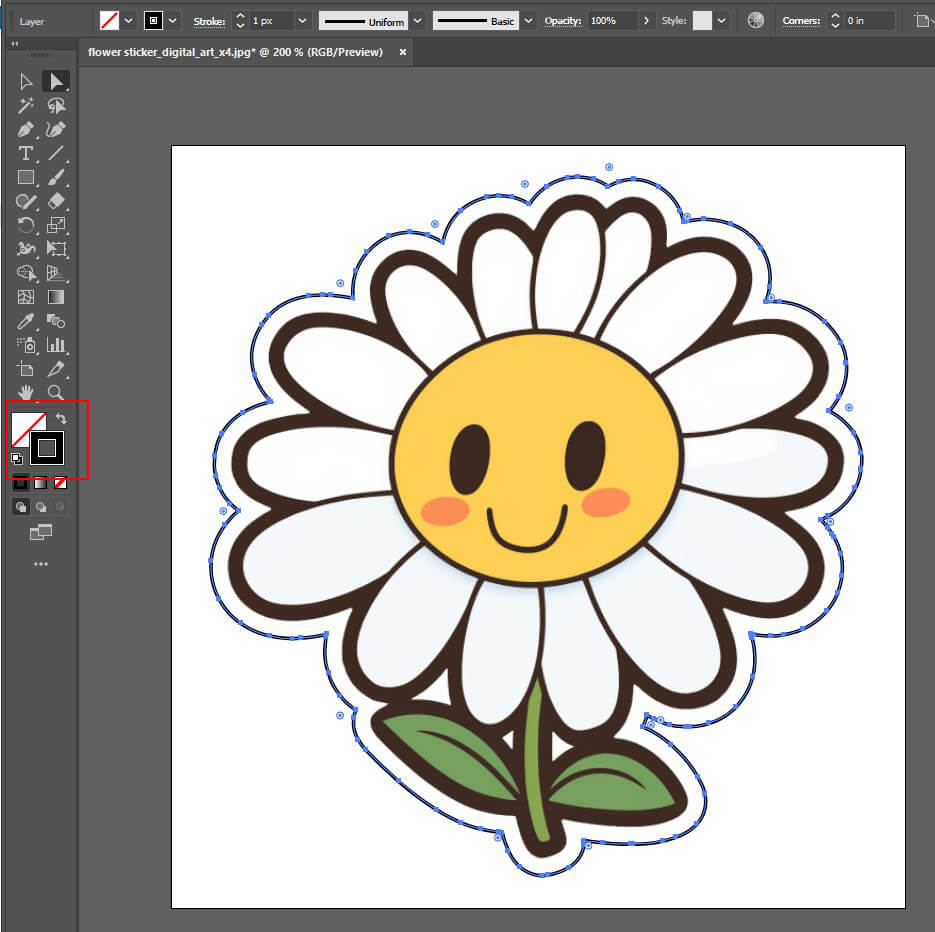
Shape Select all elements on the cut line layer again and click on "Unite" in the Pathfinder window. Then, switch the black fill to a stroke, using the arrows here:
Ours didn't have any, but you can remove any unwanted holes by using the Direct Selection Tool (A).
Step 7: Apply Stroke Settings
Select the shape, remove its fill, and apply a 1pt stroke. This configuration is the standard format used by most print shops, including Custom Stickers, for cut lines.
Part 3: Bridging Cut Line Objects (Optional Step 8)
Step 8: Merge Multiple Cut Line Objects
If your design has two or more cut line objects, you will need to join them to create a single shape. Use the Pen Tool (P) to draw a shape that overlaps the existing objects. Then, with all objects selected, click on "Unite" in the Pathfinder window.
Step 9: Simplify or Refine the Cut Line as Needed
Like we did with the vector image, we can simplify the cut pattern, and round the corners to make our cut path more streamlined.
To simplify, select the cut path only, and then using the menu, go to Object > Path > Simplify and a slider will pop up, allowing you to choose how much to simplify.
Next, click on the direct selection tool, and an option will appear on the top bar to adjust the corners. We typically make the corner radius around 0.025 to 0.03 inches.
Thanks for joining us today, and hopefully this article gives you the information you need to create your very own sticker cutlines!