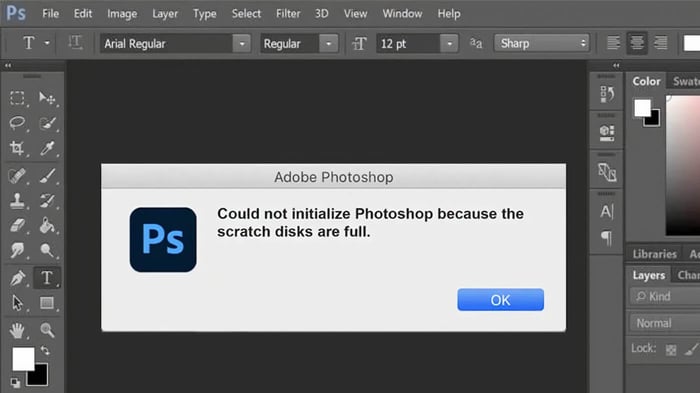
Have you ever been working in Photoshop and suddenly received a message saying the "scratch disk is full"? This can be frustrating, especially if you aren't sure what that means. In simple terms, Photoshop uses part of your computer's hard drive as a temporary storage space—called a scratch disk—to help it process your images faster.
When this space fills up, Photoshop doesn't have anywhere to store these temporary files, and that's when you get the error message. Think of it like trying to cook in a kitchen where all the countertops are cluttered. You don't have space to work, and things slow down.
The problem can come from a few places: maybe your hard drive is almost full, Photoshop is trying to use a slow drive as its scratch disk, or there are too many temporary files that haven't been cleaned up. Whatever the reason, the good news is that there are ways to fix it and get back to editing your photos or making stickers without interruption.
Adjusting Photoshop Performance Settings
An excellent place to start is by telling Photoshop to use more (or less) of your computer's memory (RAM). This can be done through Photoshop's settings. If Photoshop can use more RAM, it might not need to use the scratch disk as much, which can help avoid filling it up too quickly. But there's a balance to be struck here; if you give Photoshop too much RAM, other programs on your computer might start to run slowly. It's like allocating more cooks to work in the kitchen but having less room for servers to move around. Finding the right balance is key.
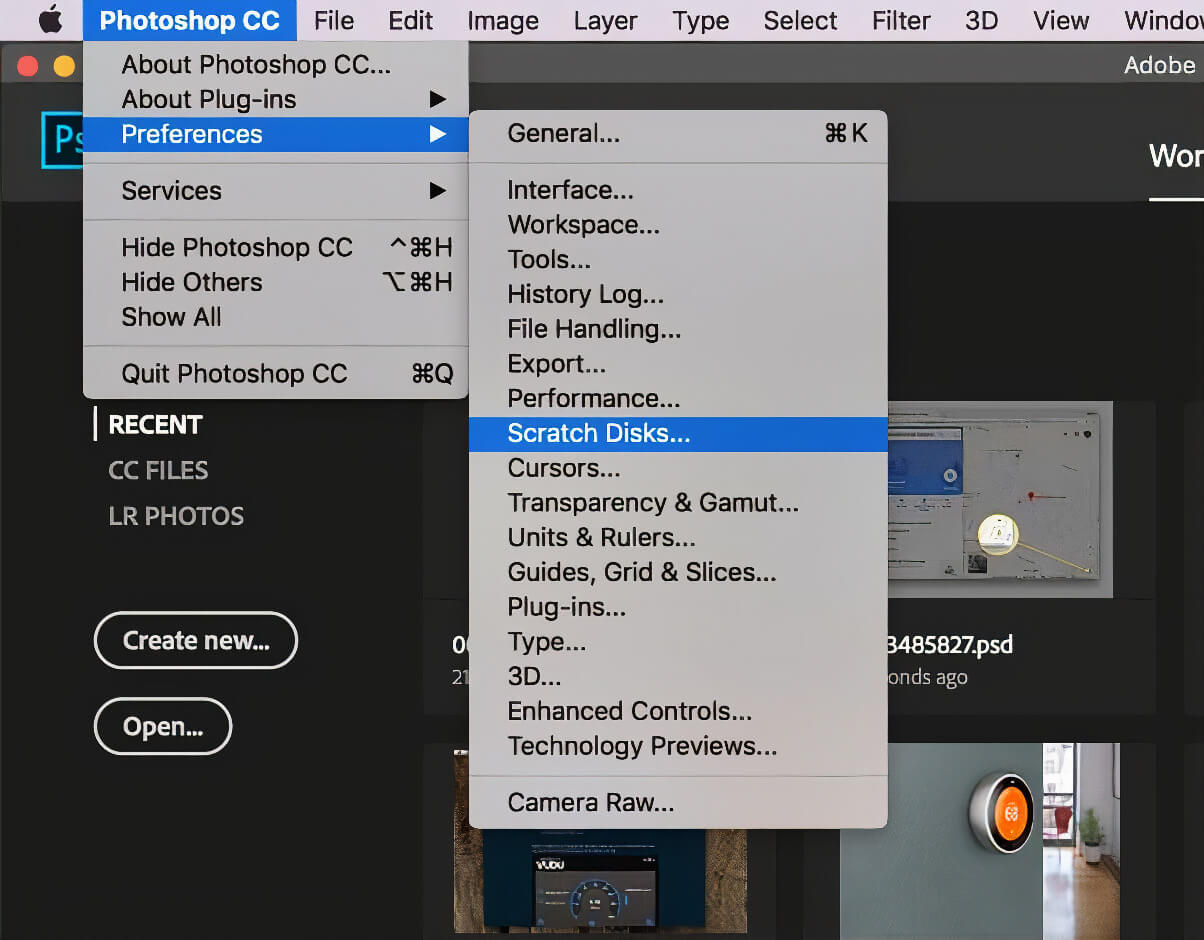
You can also tell Photoshop where to store these temporary files by setting up scratch disks. If you have more than one hard drive or a speedy one (like an SSD), you can choose it as your scratch disk to help Photoshop run more smoothly. It's like selecting the best and biggest countertop to work on in our kitchen analogy.
Managing Scratch Disk Locations
If you keep getting the "scratch disk full" message, it might be time to check which disk Photoshop uses for scratch space. You can select a different drive that has more free space. If you're working on a computer with multiple drives, choosing one with lots of space and fast read-write speeds, like an SSD, can make a big difference. It's like moving your kitchen workspace to a larger counter with better tools. Suddenly, you have the space and speed to work more efficiently.
Sometimes, though, Photoshop will only start if the scratch disk is full. A handy shortcut for Windows and Mac users lets you change your scratch disk before Photoshop fully opens. This can be a quick fix to get you back into the program and working on your projects.
Common Errors
Setting Up Your SSD as a Photoshop Scratch Disk on Mac
If you've recently bought an SSD to use as a scratch disk for Photoshop on your Mac and are encountering issues with Photoshop not recognizing it, particularly if it's formatted in ExFAT, you're not alone. This can be a common problem, but there's a straightforward solution to get your SSD working as intended.
The core issue here is the formatting of the SSD. While ExFAT is a versatile file system compatible with both Windows and Mac, it may not always perform optimally with newer versions of MacOS when used as a scratch disk for Photoshop. The recommended solution is to reformat your SSD to APFS (Apple File System), which is specifically designed for MacOS and offers improved reliability, speed, and efficiency over ExFAT for Mac users.
However, it's important to note that reformatting your drive to APFS will erase all data currently stored on it. Therefore, before proceeding with the reformatting process, ensure you back up any important data you wish to keep.
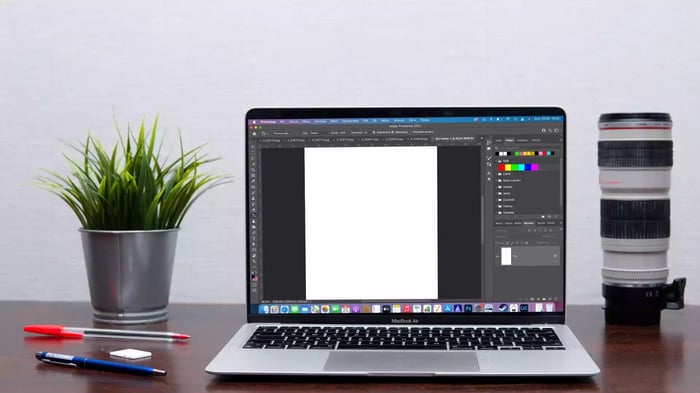
Make Sure Dimensions are Accurate
Typically, creating files with pixel dimensions (like 2500x3000) allows for more flexibility in size. However, if the settings get switched to inches by mistake, Photoshop might restrict the dimensions to a maximum of 1000, which is significantly less than what many projects require. The solution is simple: double-check the unit of measurement and switch it back to pixels. This small adjustment can make a big difference, allowing for the desired file size and avoiding unnecessary limitations. This tip serves as a helpful reminder to always pay attention to the units of measurement in your project settings, ensuring they align with your project needs.
Regular Maintenance: Deleting Temporary Files and Defragmenting Disks
Over time, Photoshop accumulates temporary files that can take up a lot of space. Think of these like the scraps and peelings that pile up in a kitchen. You can clean these out manually by finding and deleting them, freeing up a lot of space on your scratch disk. On Windows, you can use the 'Run' command to open the temp folder; on Mac, you can use Spotlight to find and delete these files.
Another helpful step is defragmenting your disk. When files are spread out over the hard drive, it takes longer for the computer to access them. Defragmenting rearranges these files so the computer can find them more quickly, like organizing ingredients in a kitchen for easier access. This will only create a little space, but it can make the space you have work more efficiently.
Conclusion
Dealing with a full scratch disk in Photoshop can be annoying. Still, it's usually fixable with a few tweaks to your settings and regular maintenance. By adjusting how Photoshop uses memory, choosing the right scratch disk, and keeping your system clean, you can keep Photoshop running smoothly and avoid the dreaded "scratch disk full" message. It's all about ensuring Photoshop has the space and resources it needs, just like keeping a kitchen organized and ready for cooking.