Getting Started
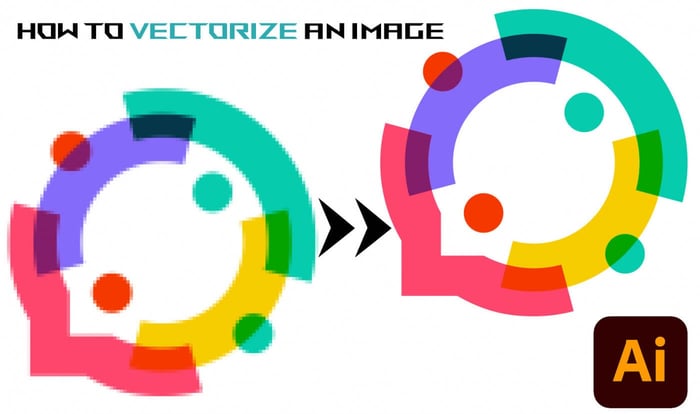
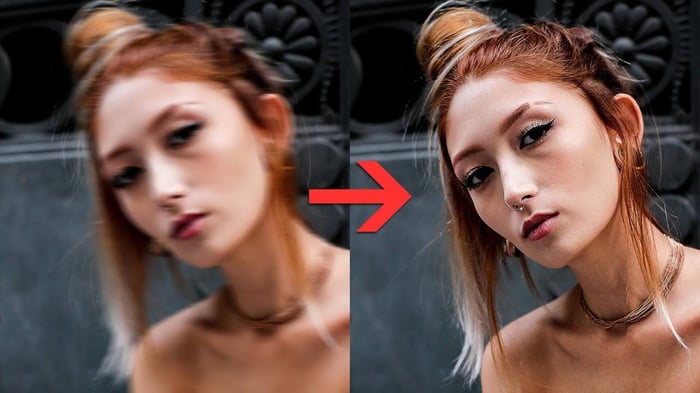
Adobe Illustrator is a powerful vector graphics software that can be used to vectorize an image. Vector images are essential for many design projects, from logo design to illustrations and infographics. However, not all images are created as vectors, and sometimes you'll need to convert a raster image into a vector image.
Vectorizing an image involves converting a raster image, such as a JPEG or PNG, into a vector graphic, which is made up of paths and points rather than pixels.
In this tutorial, I'll demonstrate how you can vectorize a raster image such as a PNG or JPG using the Image Trace function in Adobe Illustrator.
The steps will be covered in detail below, but here they are:
- Open the image you want to vectorize in Adobe Illustrator.
- Go to the "File" menu and select "Place" to import the image into Illustrator.
- Select the image by clicking on it.
- Go to the "Object" menu and select "Image Trace."
- Adjust the settings in the Image Trace panel to your liking.
- Click "Trace" to vectorize the image.
- Expand the image by going to the "Object" menu and selecting "Expand."
- Clean up any unwanted paths or anchor points by using the Direct Selection tool.
What is a Vector?
Make sure you check out our previous tutorial if you want to get a full rundown on the difference between a raster image and a vector file.
A vector image is a digital image that is made up of mathematical equations, rather than pixels. This means that vector images can be resized without losing quality, unlike raster images which can become pixelated when enlarged. Vector images are also easily editable, making them a popular choice for designers and illustrators.
How to Vectorize an Image
There are several ways to vectorize an image, including using software like Adobe Illustrator, Inkscape, and CorelDRAW. In this guide, we'll focus on using Adobe Illustrator's image tracing tool.
The image trace tool uses algorithms to analyze the image and create vector paths that closely match the shapes and lines in the original image. This process is also known as vectorization or image vectorization.
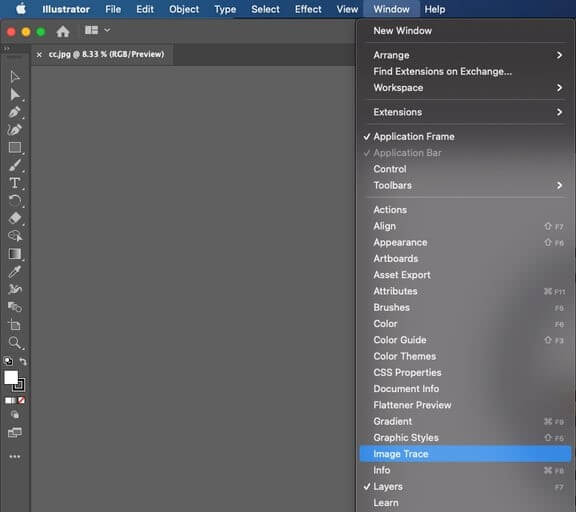
To get started in Illustrator, we want to ensure we are working with a similar setup. So, on the "window" drop-down, make sure you have available the 'Layers,' 'Image Trace,' and 'Pathfinder' windows.
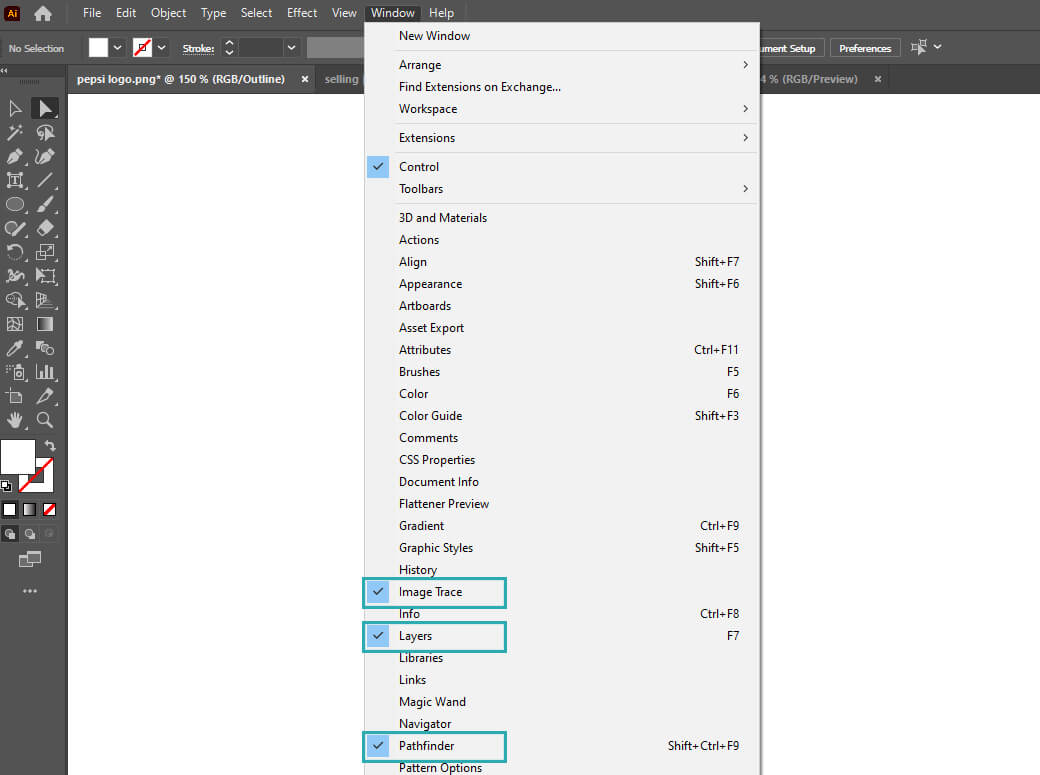
Once our setup is aligned, we can go forward with the image trace process. Here are the steps:
1. Open the image you want to vectorize in Adobe Illustrator
To vectorize an image, you will first need to open it in Adobe Illustrator. Make sure you have the latest version of Illustrator installed on your computer and launch the software.
Simply, go to file> Open > and find your file.
2. Import the image into Illustrator
Go to the "File" menu and select "Place" to import the image into Illustrator. This will allow you to edit the image within the Illustrator environment.
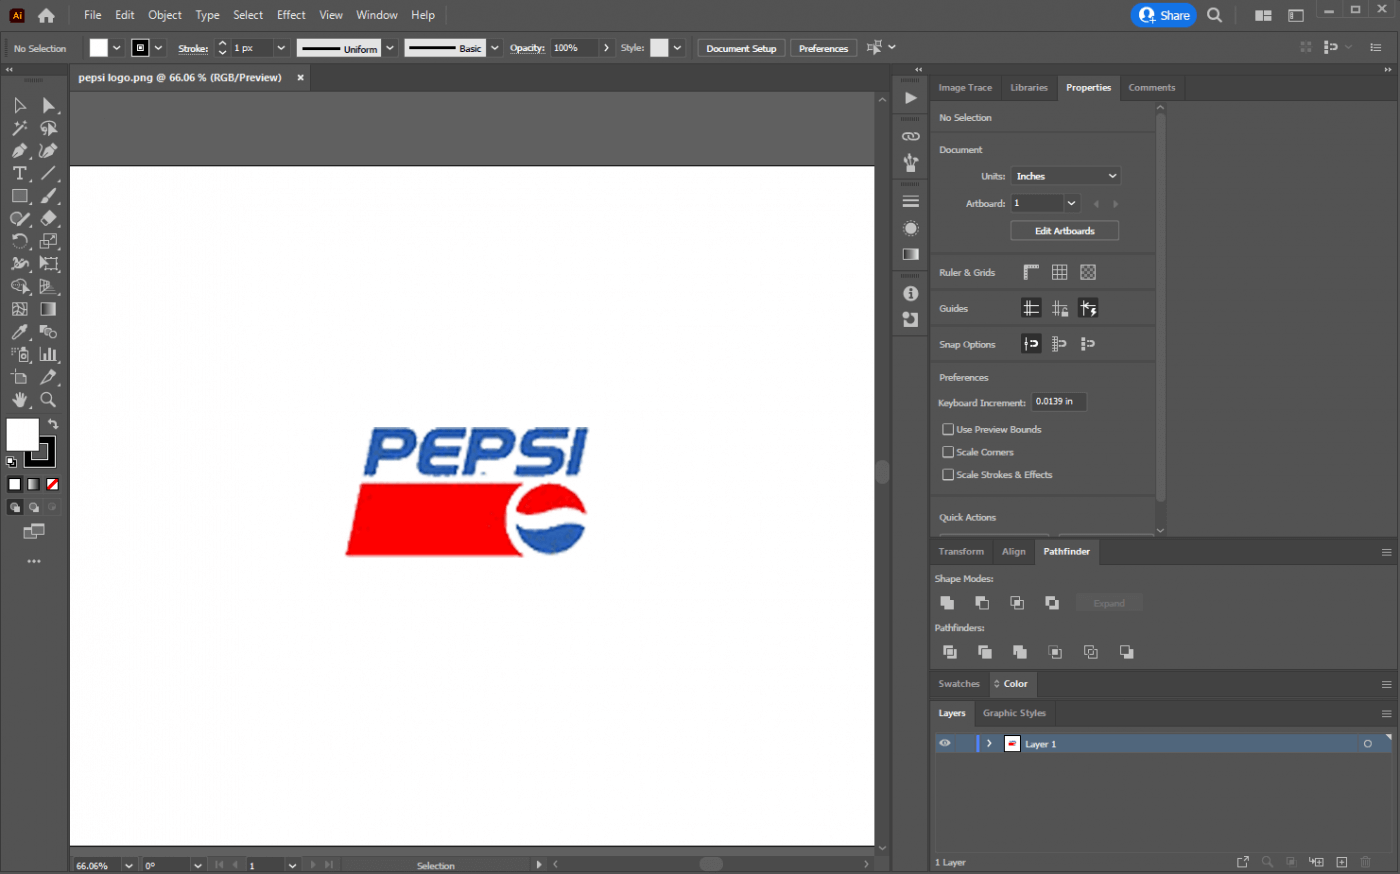
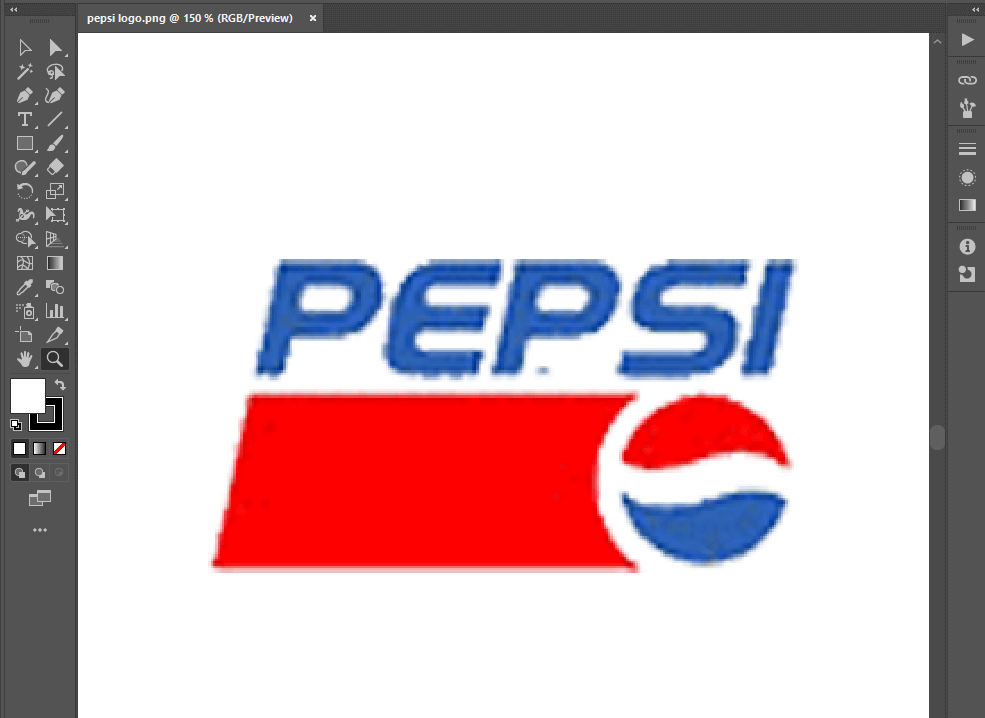
Center it on the artboard, and you can zoom in and out using the zoom function on the bottom left corner of the window, or by clicking the magnifying glass on your toolbar, or by holding alt and scrolling your mouse wheel up and down.
3. Select the image
Once the image is imported, click on it to select it. This will allow you to apply the image tracing tool to the image.
Before I begin image tracing, I like to make a copy of the layer that I'm working on. This allows me to quickly swap between the vector and original file and see the progress.
The fastest way to copy the layer and keep it in the same spot is to drag it with your mouse onto the + symbol at the bottom of the layer window.
4. Access the image tracing tool
Go to the "Object" menu and select "Image Trace." This will open the Image Trace panel, which contains various settings you can use to vectorize your image.
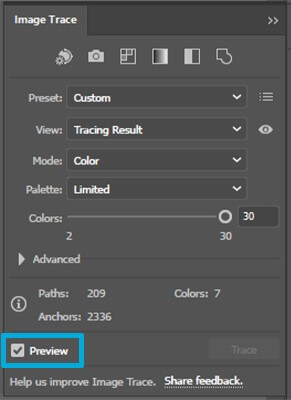
Expand the advanced options in the Image Trace window. This will give us all the settings we can play with to get the best result.
Now toggle the preview button, and the image trace will engage. This makes sure you can see what is happening with each adjustment you make (next section).
5. Adjust the settings
In the Image Trace panel, you can choose from several preset options or create your own custom settings such as the number of colors, the threshold, and the method of tracing.
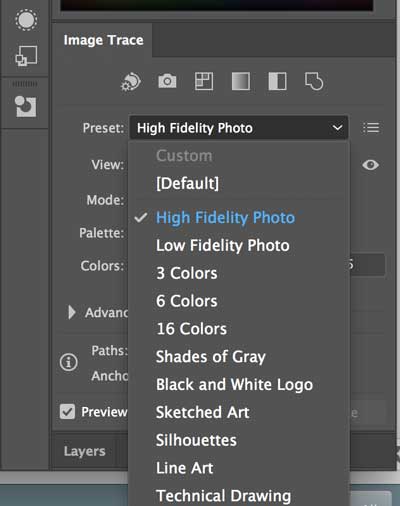
Since the Pepsi logo is simple and only has two colors, we should start with the default black and white setting, or the 3 color mode. If we start with the black and white, we can add the color back in at the end.
With black and white, the focus will be on getting the shapes correct, and then we can go back in and add color at the end.
With three color mode, we try to maintain the colors as we get the shapes properly traced.
With a simple two-color logo like this, I prefer to use black and white mode, then toggle "ignore white." This removes the white background and only traces the words and logo in black.
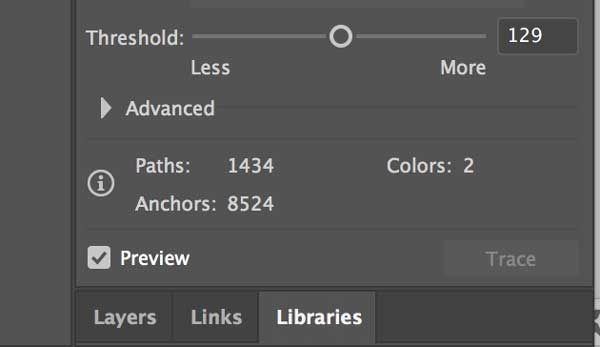
You can experiment with different advanced settings to find the best results for your image.
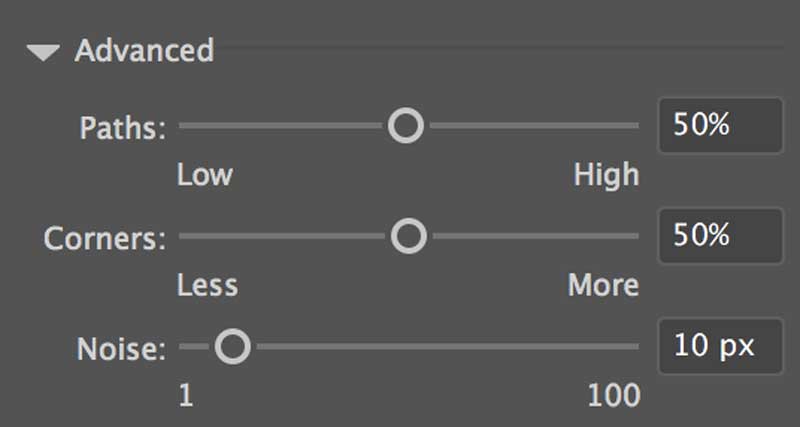
Keep in mind that the higher the number of paths, the more detailed and accurate your vector image will be, but it will also increase the file size and take it longer for Illustrator to process.
Here are the settings you will adjust:
- Threshold - For black and white, this tells Illustrator how much of the color it should apply as black. In other words the higher the threshold, the more of the image will be black.
- Paths - This determines how many paths Illustrator calculates. In other words, the higher the paths, the more complex the resulting vectors will be.
- Corners - This tells Illustrator whether to try to make corners or smooth them and try to make more curves.
- Noise - Noise is the level of isolated pixels that Illustrator will convert to vectors. In other words, if there are random pixels here and there, you can tell the program to ignore them and consider them 'noise.'
6. Trace the image
Once you're satisfied with the settings, click "Trace" to vectorize the image. You will see a preview of the vector image on the screen.

7. Expand the image
After tracing the image, it will still be a live trace object, which means that it can be edited and adjusted. To convert it into a standard vector object, go to the "Object" menu and select "Expand."
8. Clean up any unwanted paths or anchor points
Finally, use the Direct Selection tool to clean up any unwanted paths or anchor points. This will ensure that your vector image is accurate and polished. You can also use the Pen and Pencil tools to fine-tune the image and make any final adjustments.
Why Vectorize an Image?
There are several reasons why you may want to vectorize an image. For one, vector images are easier to edit and manipulate. They also have a higher resolution and can be enlarged without losing quality. Additionally, vector images are often smaller in file size than raster images, making them more efficient for use on the web.
Conclusion
Vectorizing an image can be a valuable skill for designers and illustrators. By using software like Adobe Illustrator and following the steps outlined in this guide, you can convert raster images into high-quality vector images that can be easily edited and enlarged without losing quality. With a little practice and experimentation, you'll be able to vectorize any image with ease.

